LED Guys - Licensed Electrician
Los Angeles, California LED Guide • Updated for 2026

How to Solder LEDs in Los Angeles, California in 2026: A Practical Guide for LED Strips, Low-Voltage Lighting, and Clean Connections

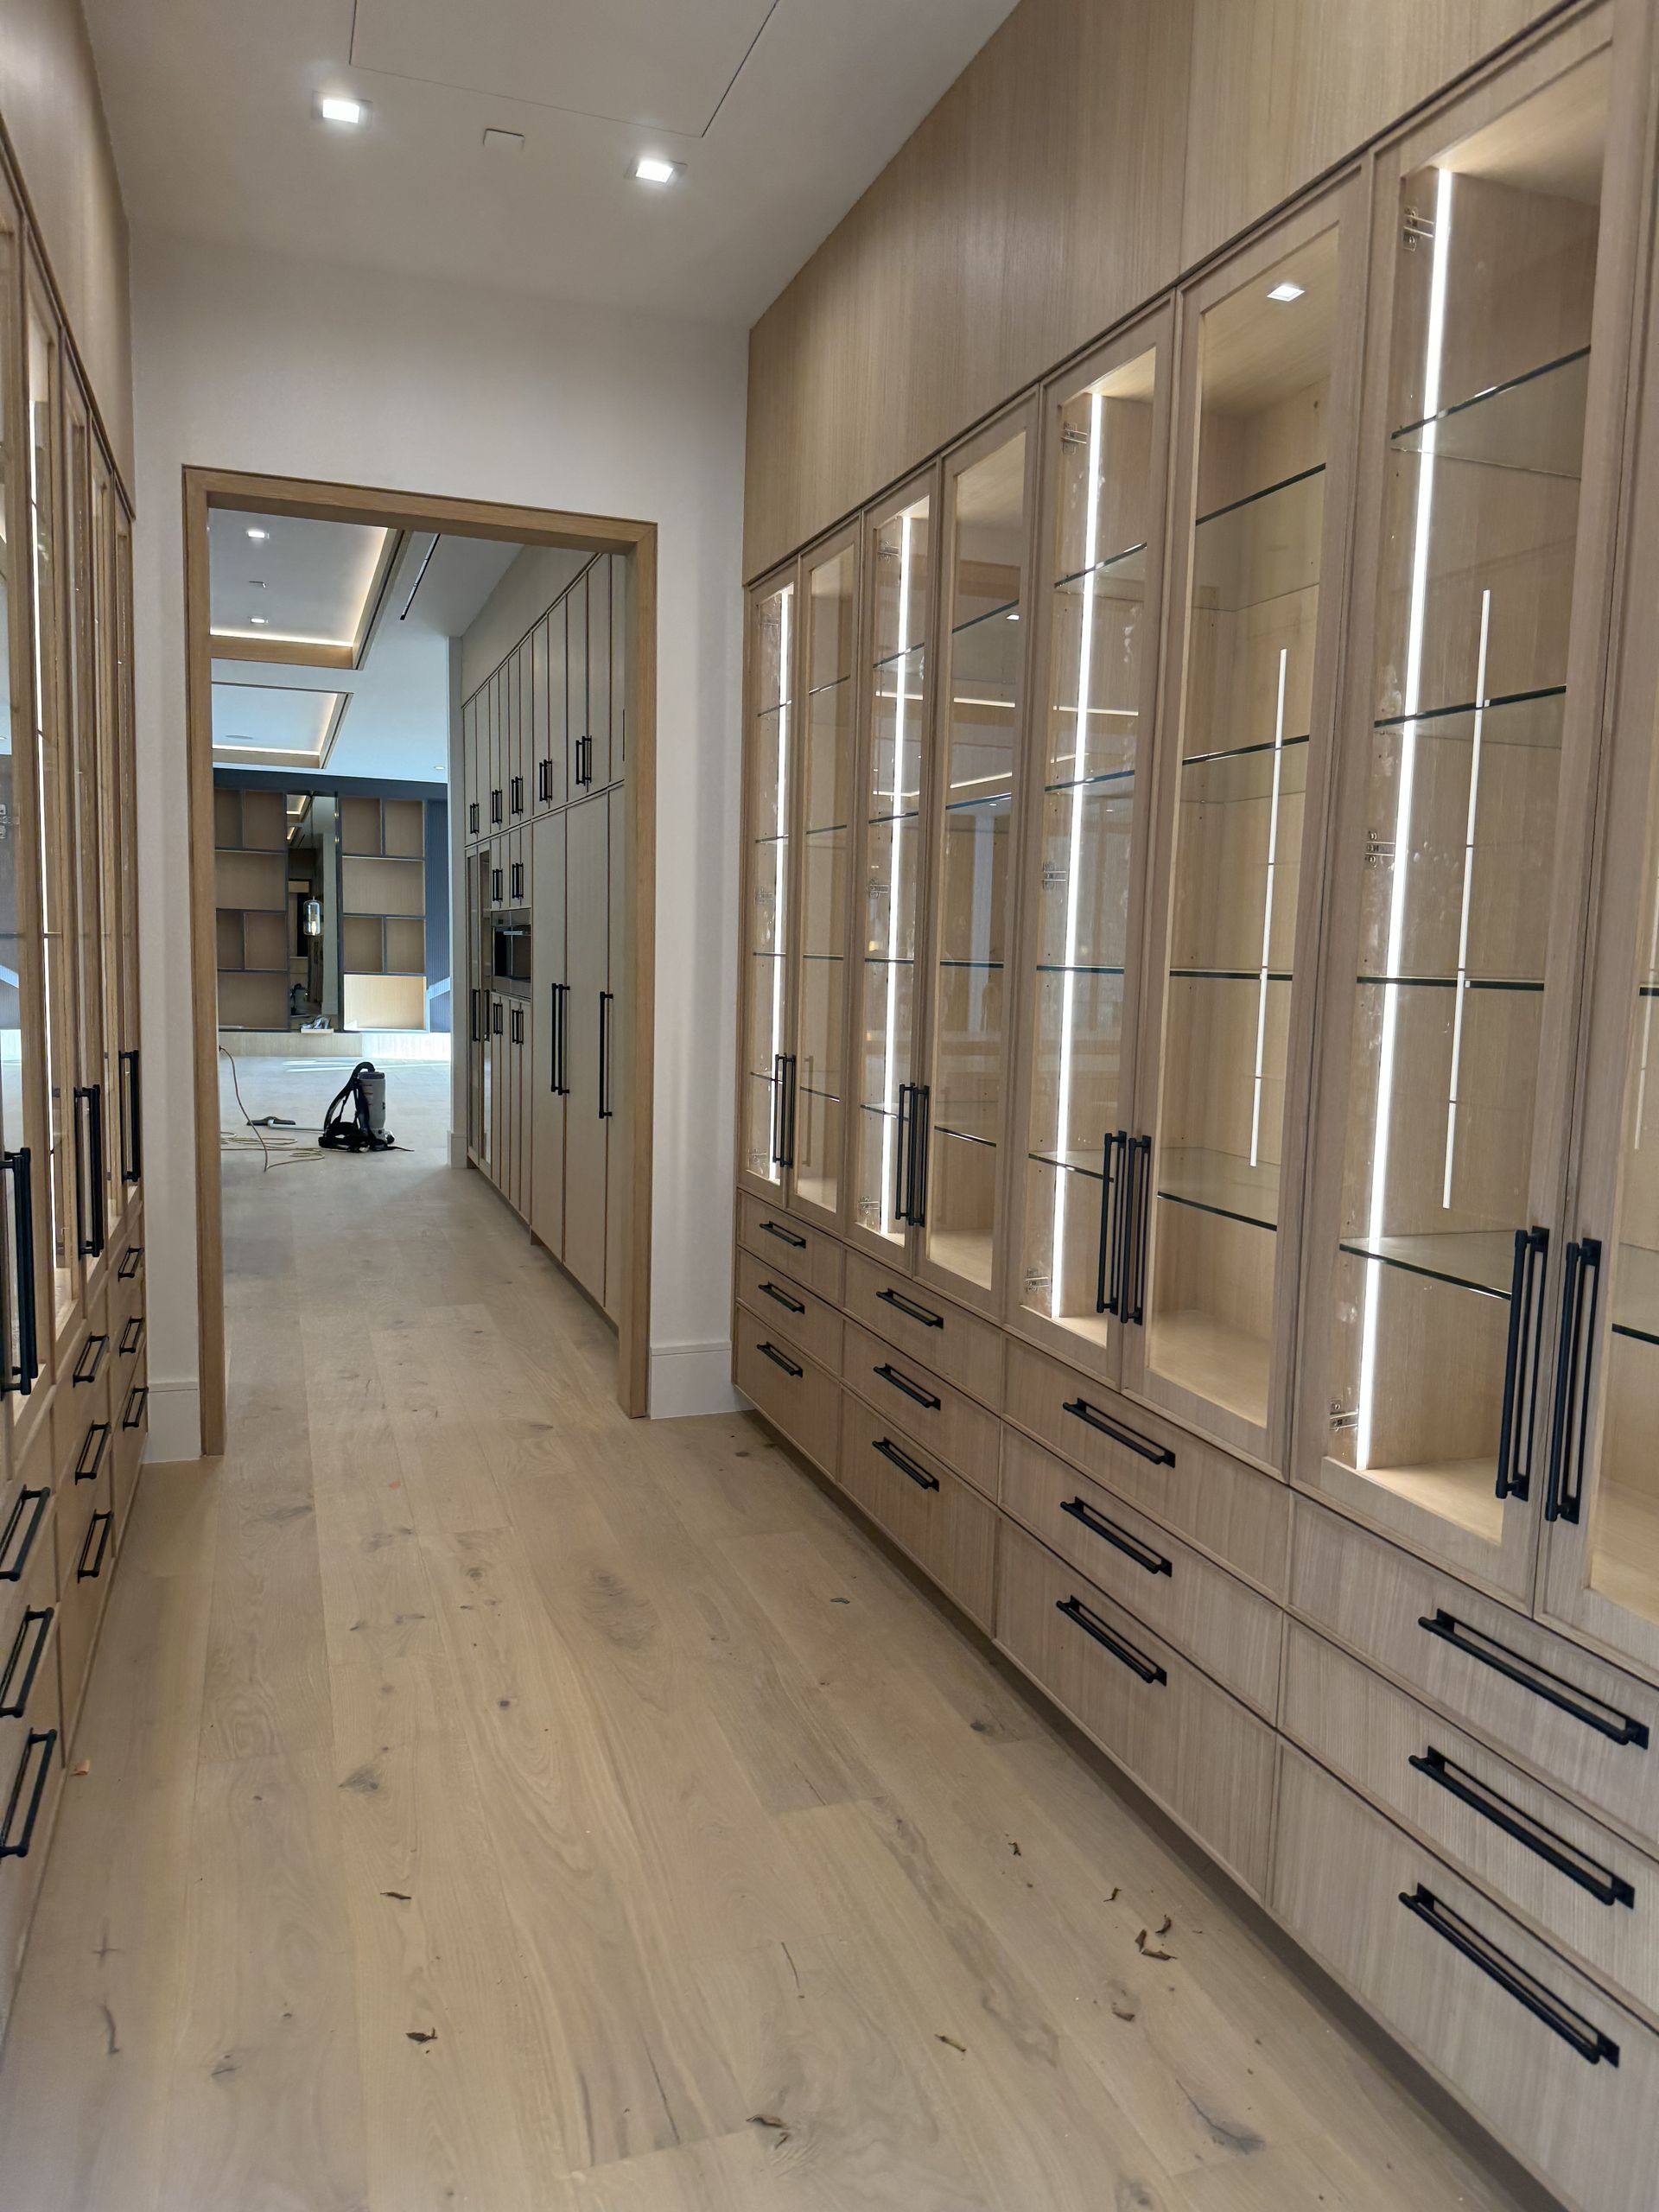
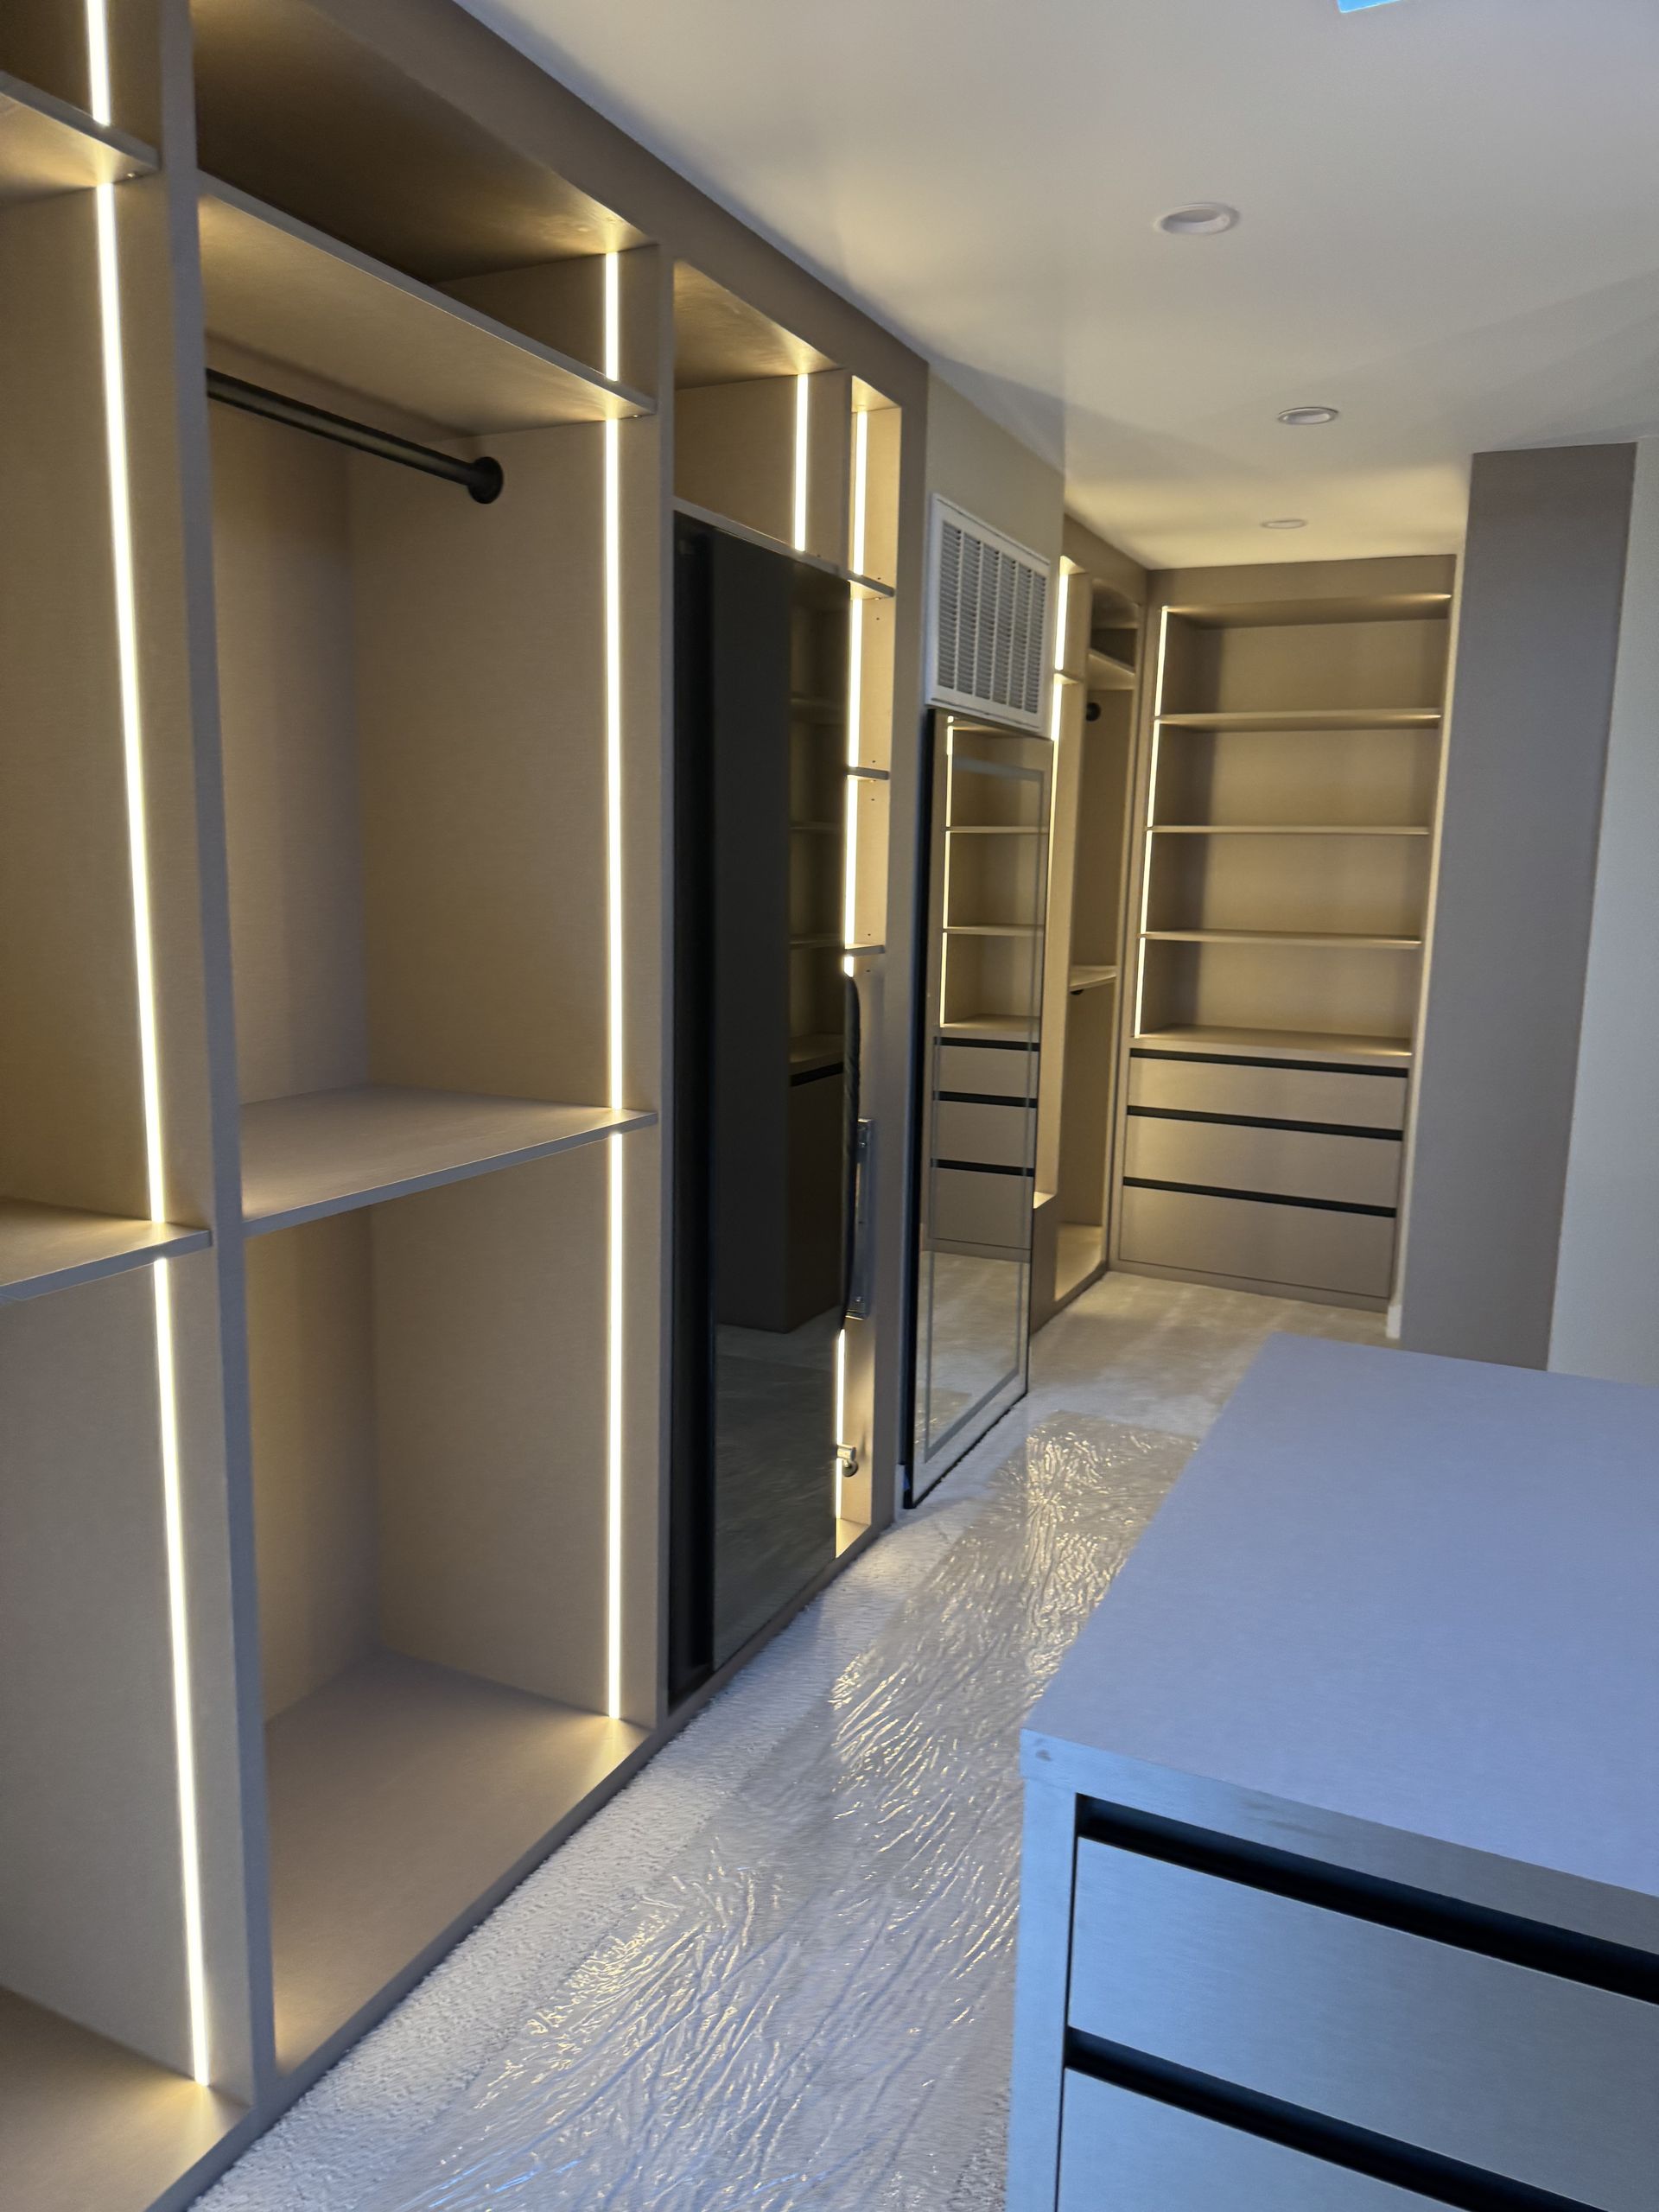
Soldering LEDs is still one of the cleanest ways to make custom lighting runs, repair strip sections, and create durable low-voltage connections for Los Angeles homes, studios, shops, and commercial interiors when it is done with the right heat, wire, polarity, and strain relief. This guide explains the process for common 12V and 24V LED strip projects, including what to prepare, how to tin pads and wires, and when a licensed electrician should handle the power supply, driver, switch leg, or line-voltage wiring. If you are planning cabinet lighting, accent lighting, landscape lighting, or a larger LED retrofit in Los Angeles, LED Guys can help make the finished installation safe, serviceable, and polished.

2026 Updated guide
12V / 24V Common LED strips
C10 License #1137497
Licensed C10 Electrical Contractor License #1137497 LED Lighting Installation Free Estimates Los Angeles, CA

For Los Angeles projects, solder the low-voltage LED connection, not the house wiring.

Most LED strip soldering happens on the low-voltage side of the system, after the driver or power supply. In Los Angeles, anything involving 120V circuits, new switches, junction boxes, dedicated circuits, hardwired drivers, or panel work should be handled by a qualified electrician.

What soldering LEDs means in 2026

For most homeowners and designers, soldering LEDs means joining copper pads on flexible LED strip to short lengths of low-voltage wire. The goal is simple: a strong electrical connection, correct polarity, minimal heat damage, and enough strain relief that the joint does not crack when the strip is installed.

The best 2026 approach is not about using more solder. It is about using the right temperature, clean pads, pre-tinned wire, flux, and a short contact time. A good joint should look smooth and shiny, cover the pad fully, and hold the wire without a cold lump, burned strip, or bridge between pads.

If the Los Angeles project includes long runs, dimming, cabinet channels, aluminum extrusion, multiple zones, hidden drivers, or smart controls, the solder joint is only one part of the system. Voltage drop, driver capacity, wire gauge, heat dissipation, and code-compliant power connections matter just as much.

Use tools that protect the LED strip from heat and stress in Los Angeles lighting projects.

A controlled, tidy setup is the difference between a professional-looking LED strip connection and a pad that lifts off the strip before the lights ever turn on.

Temperature-controlled soldering iron

Use a fine tip and set a practical working temperature, often around 650°F to 700°F for small LED pads, adjusting only as needed for your solder and wire size.

Rosin-core electronics solder

Thin electronics solder flows more predictably on small copper pads. Avoid plumbing solder, acid-core solder, and corrosive flux products around electronics.

No-clean or rosin flux

A small amount of electronics-safe flux helps solder wet the copper pad quickly, reducing the time the iron has to touch the LED strip.

Proper low-voltage wire

Use stranded wire sized for the current and run length. Many short strip connections use 20 AWG to 18 AWG, but longer or higher-output runs may need heavier wire.

Heat shrink and strain relief

Protect the joint with heat shrink, silicone sleeve, channel placement, or another mechanical support so movement is not carried by the solder pad.

Multimeter and test power supply

Check polarity, continuity, voltage, and the first test run before the strip is installed behind cabinets, coves, shelves, or finished trim.

How to solder LED strip connections cleanly for Los Angeles installations.

Work slowly, keep the tip clean, and test before the joint is hidden. These expanded steps apply to common single-color and many RGB/RGBW LED strip connections, with pad count adjusted to match the strip type.

1

Plan the LED run before cutting

Measure the cabinet, cove, shelf, display, or room detail where the strip will sit. Mark feed points, controller location, driver location, and any corners before you cut the strip.

2

Confirm voltage, strip type, and channels

Verify whether the strip is 12V or 24V and whether it is single-color, tunable white, RGB, RGBW, or addressable. The pad labels and driver/controller must match the strip type.

3

Cut only on the marked cut line

LED strips have designated cut points, usually marked by a line through exposed copper pads. Cutting between marks can damage circuit paths and make the strip impossible to solder reliably.

4

Expose and clean the copper pads

Peel back silicone coating if present, clean the pads lightly, and keep adhesive residue away from the joint area. A clean copper surface lets solder flow quickly with less heat.

5

Strip and shape the wire

Use stranded low-voltage wire and strip only enough insulation to sit on the pad. Twist the strands neatly so no loose strand can bridge to the next pad.

6

Add a small amount of electronics-safe flux

Flux helps the solder wet the copper pad without forcing the iron to stay on the strip too long. Use rosin or no-clean electronics flux, not acid or plumbing flux.

7

Tin the pad and wire separately

Add a small amount of solder to the copper pad, then tin the stripped wire end. Pre-tinning both surfaces lets the final connection happen quickly and reduces heat stress.

8

Match polarity and every channel

Confirm plus and minus on single-color strips. For RGB or RGBW, match V+, R, G, B, and W channels exactly before touching the iron.

9

Fuse the joint with brief heat

Place the tinned wire on the tinned pad, touch with the iron just long enough for both solder surfaces to flow together, then remove heat and hold the wire still while it cools.

10

Inspect the joint closely

Look for bridges, dull cold joints, lifted pads, excess solder, or loose wire. A good joint should be smooth, compact, and fully seated on the copper pad.

11

Add strain relief and protection

Use heat shrink, silicone sleeve, aluminum channel placement, adhesive support, or another method so movement is carried by the wire support instead of the solder pad.

12

Test before final installation

Power the strip at the correct low voltage, check every section and color channel, and confirm brightness before the strip is installed behind cabinets, trim, shelves, or finished surfaces.

Most LED soldering failures in Los Angeles installs come from heat, polarity, or movement.

A solder joint can look fine on the bench and still fail later if the strip is flexed, the driver is undersized, or the connection was made with too much heat.

Overheating the pad

Holding the iron too long can lift the copper pad from the strip. Pre-tin, use flux, and keep contact time short.

Reversing polarity

Many LED strips will not light if positive and negative are reversed. Some controllers and strip types can be damaged by incorrect wiring.

Skipping strain relief

Solder is not a flexible mechanical fastener. Support the wire so cabinet doors, channels, and trim movement do not pull on the pad.

Using clip connectors everywhere

Clip connectors can help in accessible areas, but hidden, high-use, or tight spaces often benefit from a soldered connection done correctly.

Ignoring voltage drop

Long runs can dim at the far end. Use the right driver, wire gauge, feed points, and layout rather than relying on one long strip feed.

Mixing line voltage and DIY work

Hardwired drivers, switched circuits, junction boxes, and new branch wiring are electrician territory, even if the LED strip itself is low voltage.

Before you install the soldered LED section in a Los Angeles home or business.

Use this quick check before the strip goes into an aluminum channel, cabinet recess, shelf groove, display case, or other finished location.

  • The LED strip was cut only at the printed cut mark.
  • All solder pads are clean, pre-tinned, and free of bridges between channels.
  • The wire is stranded, properly sized, and matched to the strip polarity or color channel labels.
  • The joint was tested with the intended voltage before final installation.
  • Heat shrink, silicone, channel placement, or another support method protects the solder joint.
  • The LED driver or power supply is accessible, properly rated, and not overloaded.
  • Any 120V work, hardwired driver connection, switch wiring, or panel work is handled by a licensed electrician.

5.0 Stars - Verified Google Reviews

Real customer feedback for LED Guys lighting and electrical work in Los Angeles and the San Fernando Valley.

★★★★★

"I recently hired Jorge to install LED strip lights for my custom cabinets, and I couldn't be happier. Professional, punctual, and incredibly skilled. The wiring was neatly hidden and the setup works seamlessly. Highly recommend for anyone looking for top-notch electrical work."

AAdesign Firm
★★★★★

"Very knowledgeable and punctual. Easy to work with and reasonably priced. I will definitely use them in the future for all my lighting and electrical needs."

Yacoub Kawaja
★★★★★

"Jorge is the man for any electrical work. He completed lighting installations for my shop and did an excellent job. Professional, efficient, highly satisfied. I highly recommend Jorge for any electrical issues or projects."

Zubair Kohbandi · Local Guide
★★★★★

"You can't ask for a better electrician than George. He's reliable, communicative, on time, reasonably priced and a pleasure to work with. I've called George for multiple projects, including panel upgrades, recess lighting and even technical issues and he has performed like a champion every time."

Paul H
★★★★★

"I've worked with many electricians over the years, and he's by far the best. His prices are great, he's always on time, reliable, and gets the job done without any issues. If you need an electrician you can truly count on, reach out to him - you won't be disappointed."

Bardia Danesh
★★★★★

"LED Guys were awesome! They replaced and repaired my open sub panel quickly and made the whole process super easy. Friendly, professional, and explained everything in a way that made sense. Great to have peace of mind knowing the job was done right."

Ryan Schneider

LED soldering questions for Los Angeles 2026 projects.

A few practical answers before you heat the iron or plan a permanent lighting installation in Los Angeles, California.

Is soldering better than LED strip clip connectors?

Soldering is often more reliable in tight, hidden, or permanent locations because it creates a lower-profile connection. Clip connectors can still be useful for accessible temporary sections, quick testing, or low-stress areas.

What temperature should I use to solder LED strips?

Many small LED strip pads work well around 650°F to 700°F with electronics solder and flux, but the exact setting depends on your iron, solder, pad size, wire gauge, and coating. The goal is fast flow without prolonged heat.

Can I solder waterproof LED strip?

Yes, but the silicone or coating must be carefully removed from the pads first, and the connection should be resealed or protected based on the location. Wet or outdoor locations need extra attention to rated materials and enclosure choices.

Why did my LED strip stop working after soldering?

Common causes include reversed polarity, solder bridges, lifted copper pads, cold solder joints, overheated LEDs, damaged cut points, undersized drivers, or voltage drop on longer runs.

Can LED Guys handle the full installation in Los Angeles?

Yes. LED Guys can help Los Angeles homeowners and businesses with custom LED layouts, low-voltage lighting, under-cabinet lighting, drivers, dimming, controls, panel considerations, and code-compliant electrical work.

Want clean LED lighting in Los Angeles without the trial and error?

Call LED Guys for cabinet lighting, LED strip installation, dimming, drivers, smart lighting, commercial LED retrofits, and licensed electrical work in Los Angeles, California.