
What Is an LED Strip Light?
LED strip lights — also called LED tape, ribbon lights, or flex strips — are flexible circuit boards populated with surface-mounted LED chips spaced at regular intervals. They come on a reel, adhere to almost any surface with an integrated pressure-sensitive backing, and can be cut at designated marks to fit any length. A standard residential roll is 16.4 feet (5 meters), though commercial reels run 32 feet and beyond.
In 2026, LED strip technology has matured to the point where a skilled installer can achieve nearly any lighting effect — warm ambient glows, crisp task lighting, vivid color scenes, or tunable white systems that shift from warm to cool throughout the day. Understanding the basics helps you choose the right product, install it correctly, and get years of reliable service.
Pro note from Jorge: Most call-backs we see on strip light jobs come from two causes — using underpowered drivers and skipping proper surface prep before adhering the tape. Both are completely avoidable with the right knowledge.
A Brief History of LED Technology
Understanding where LEDs came from helps explain why they are so dominant today. The story spans more than a century of incremental discoveries.
All Types of LED Strip Lights Explained
The LED strip market in 2026 is crowded with product variations. Knowing which type fits your application saves money and prevents costly replacements later.
Standard White Strips
The most common chip for residential ambient lighting. Excellent color consistency, available in 2700K–6500K, and affordable. Good for cove lighting, under-cabinet, and stair applications.
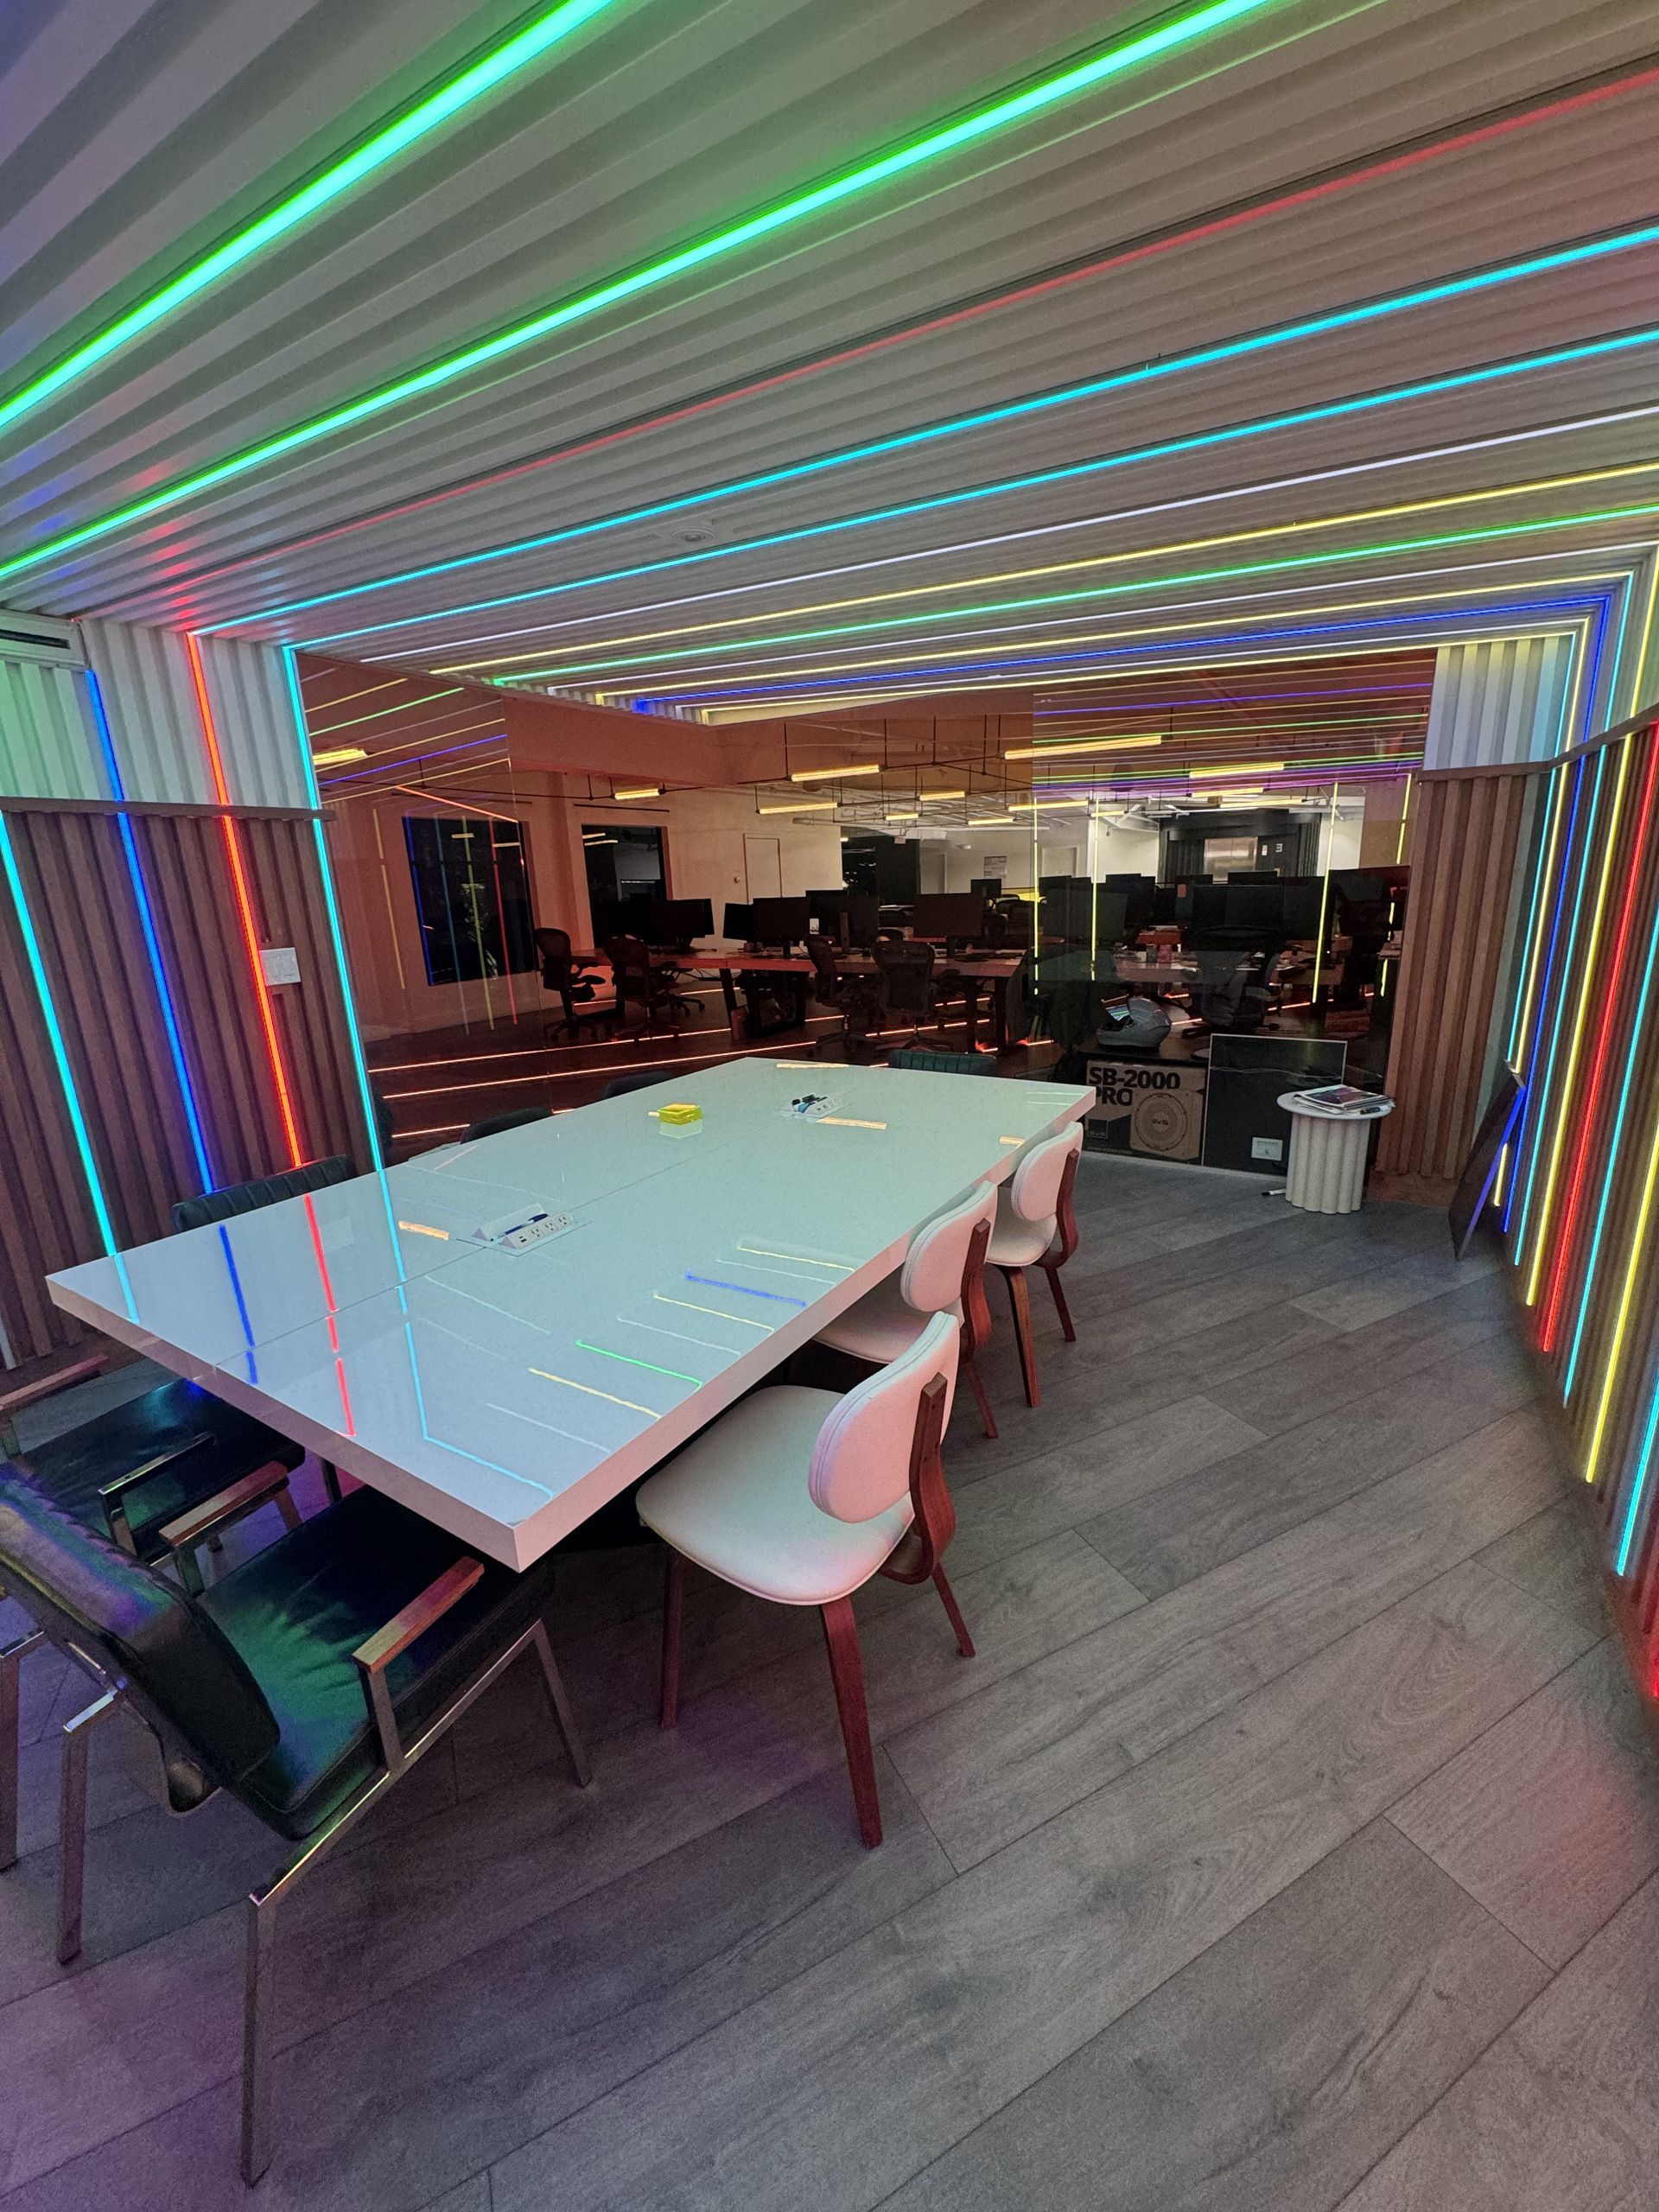
High-Output & RGB
A larger chip that fits three LED dies in one package — the basis for RGB color-mixing strips. Also used for single-color applications where higher output per chip is needed.
Color + White Combined
Adds a dedicated white LED to the RGB package, producing cleaner white tones when needed. Best for spaces that need both full color scenes and accurate white task lighting.
CCT-Adjustable Strips
Contains both warm and cool white chips, allowing color temperature to shift from 2700K to 6500K. Used in circadian-rhythm lighting, photography studios, and medical offices.
Chip-on-Board (Dotless)
Chips are mounted directly on the board in a continuous line, eliminating visible hotspots. Produces an even, smooth glow — ideal for visible cove channels and architectural details.
120V/240V AC Strips
Runs directly from mains power without a low-voltage driver. Suitable for long runs in commercial and outdoor applications where driver placement is impractical. Requires licensed electrician for installation.
IP Ratings: Choosing the Right Moisture Protection
LED strips carry an IP (Ingress Protection) rating that tells you how well they resist moisture and dust. This is critical for applications near water.
- IP20 (No protection): Dry indoor use only — coves, cabinets, closets.
- IP44 (Splash-resistant): Suitable for bathrooms outside the shower zone, covered outdoor fixtures.
- IP65 (Dust-tight, water-jet resistant): Coated with silicone — kitchens, wet bars, outdoor covered areas.
- IP67/68 (Submersible): Fully sealed for pool lighting, fountain edges, and wet outdoor installations.
Advantages and Disadvantages of LED Strip Lights
LED strips are an excellent choice for most lighting applications, but they are not perfect for every situation. Here is an honest look at both sides.
Advantages
- Energy efficiency: LED strips use 75–80% less electricity than incandescent equivalents. A 16-foot run of quality LED tape typically draws 20–30 watts versus 120–150 watts for comparable halogen tape light.
- Long lifespan: Quality strips rated at 50,000 hours last over 17 years at 8 hours per day — far beyond the 1,000-hour life of incandescent bulbs.
- Design flexibility: Bendable, cuttable, and available in any color temperature — they fit spaces and applications that rigid fixtures simply cannot.
- Low heat output: LEDs convert most energy to light, not heat. This makes them safe near wood cabinets, fabric, and close-clearance architectural details.
- Instant full brightness: No warm-up time. On means on, at full output, every time.
- Dimmable: Compatible with 0-10V, PWM, and TRIAC dimming when paired with the correct driver.
- Mercury-free: Unlike fluorescent lamps, LED strips contain no hazardous materials and are safe to dispose of in general waste in most jurisdictions.
- Smart integration: RGBW and tunable strips pair with Lutron, Zigbee, DMX, and Bluetooth for full smart-home control.
Disadvantages
- Upfront cost: Quality LED strips and proper drivers cost more initially than fluorescent or incandescent alternatives, though operating savings recover the difference within 1–3 years.
- Driver dependency: Low-voltage strips (12V/24V) require a constant-voltage LED driver. Undersized or poor-quality drivers cause flickering, overheating, and premature failure.
- Heat management on dense installs: When mounted in enclosed channels without ventilation, heat can build up over long runs and reduce lifespan. Aluminum extrusion channels solve this for most installations.
- Color consistency variation: Budget strips often show visible color shift between reels. Quality suppliers sort by MacAdam ellipse (SDCM 3-step or tighter) to prevent this.
- Not a replacement for all fixtures: High-bay, outdoor flood, and directional task lighting often call for purpose-built LED fixtures rather than strip tape.
- Adhesive failure: The stock 3M backing works well on clean, flat, non-porous surfaces. Rough masonry, painted drywall, or oily wood require mechanical fasteners or additional adhesive.
How Much Energy Do LED Strips Save?
LED energy savings are substantial and measurable. Here is a real-world comparison for a typical kitchen under-cabinet installation running 8 hours per day in Los Angeles, where SCE residential rates average roughly $0.30 per kWh in 2026.
Example — Kitchen Under-Cabinet, 20 linear feet: Halogen puck lights at 150W total vs. LED tape at 28W total. Annual savings: approximately 356 kWh, or around $107 per year. In a commercial kitchen open 14 hours a day, that figure nearly doubles.
Energy savings compound across an entire home or commercial building. A restaurant switching its entire decorative and ambient lighting scheme from halogen to LED strip typically sees a 60–75% reduction in that lighting circuit's consumption. Most commercial properties in Southern California qualify for SCE energy efficiency rebates when replacing qualifying fluorescent or halogen systems with LED — and LED Guys handles the rebate paperwork.
Key Energy Efficiency Terms to Know
- Lumens per watt (lm/W): The core efficacy metric. Quality 2026 strips deliver 130–220 lm/W. Incandescent bulbs produce roughly 10–15 lm/W.
- CRI (Color Rendering Index): How accurately colors appear under the light, rated 0–100. For kitchens, retail, and art, aim for CRI 90 or above. Budget strips often score 70–80.
- Color temperature (CCT): Measured in Kelvin. 2700K is warm and residential; 3000K is slightly crisper; 4000K is neutral white; 5000–6500K is daylight and suited to garages, workshops, and offices.
- Power factor (PF): How efficiently the driver uses the electricity drawn. Look for PF above 0.90 for commercial installs to avoid utility penalties.
Custom LED Strip Installations: What Is Possible
Off-the-shelf LED strips paired with skilled installation produce results that look anything but generic. Here are the most-requested custom configurations from our Los Angeles clients in 2025–2026.
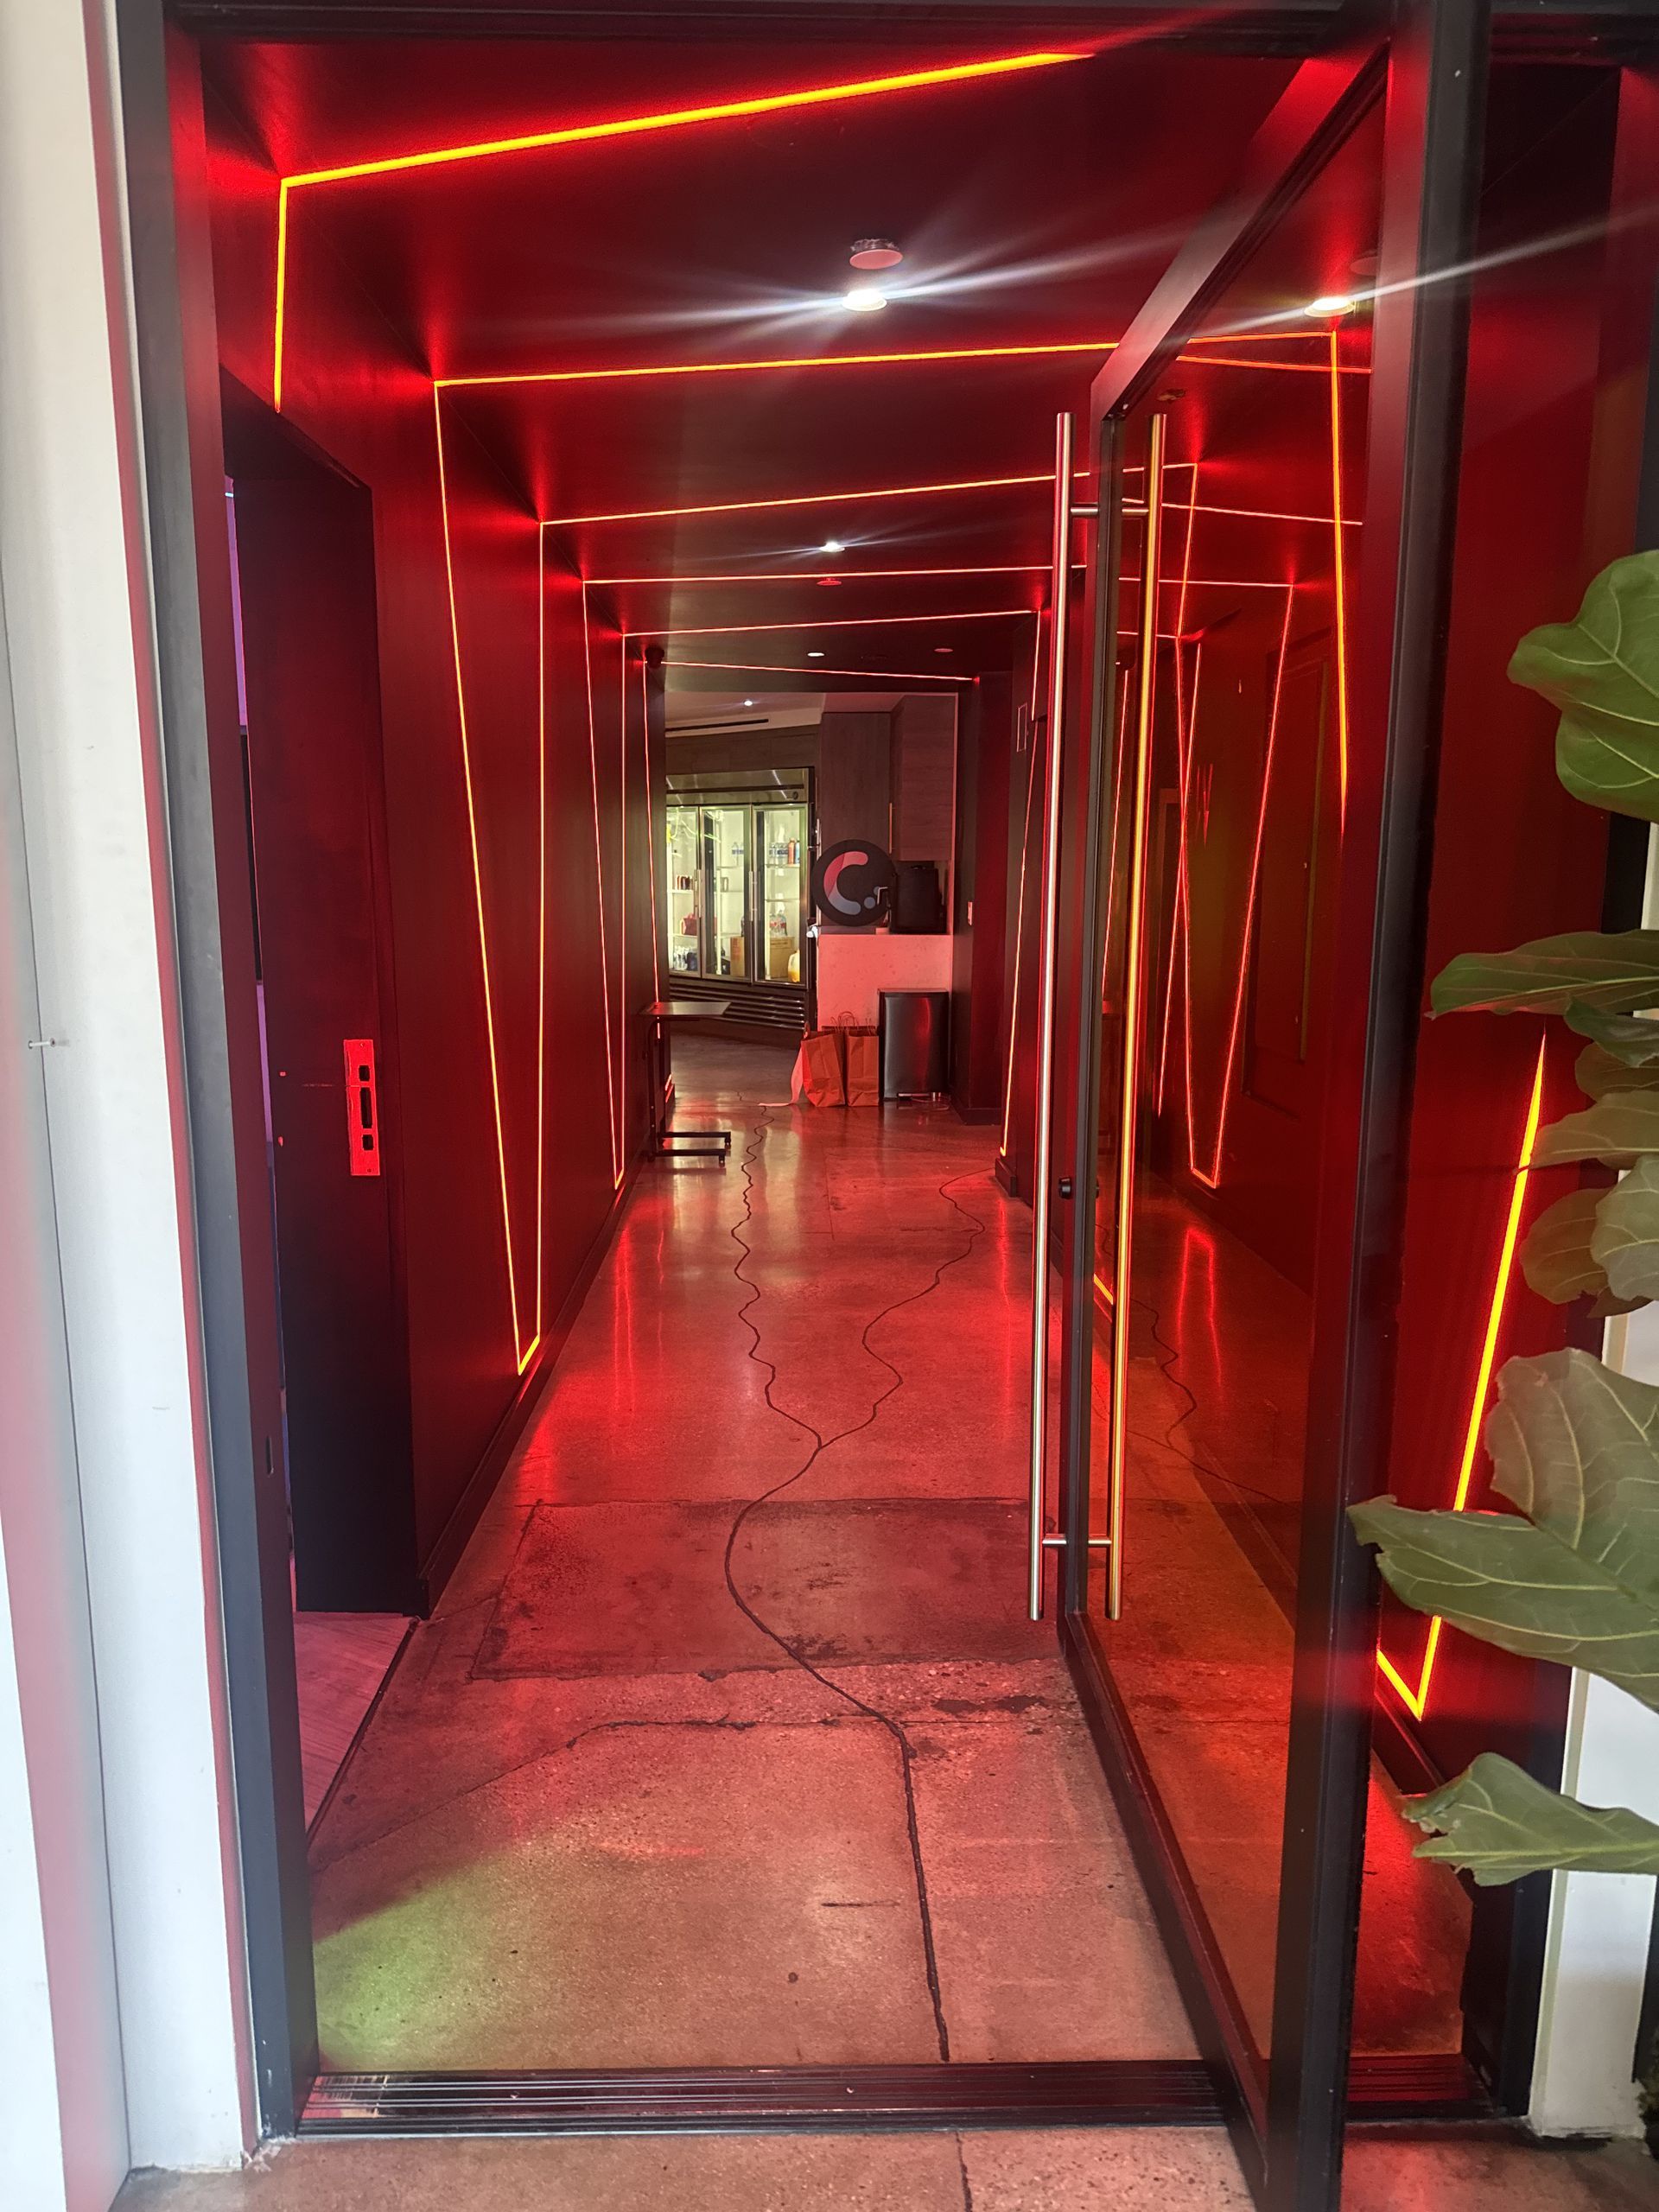
Cove Lighting
LED tape mounted inside a recessed ledge near the ceiling, hidden from direct view, bounces light upward and creates a soft, indirect glow across the ceiling plane. This is one of the most popular uses in residential remodels and restaurant renovations throughout the San Fernando Valley. The key is properly sizing the cove depth so the strip is never visible from seated eye level.
Under-Cabinet and Toe-Kick Lighting
IP65-rated strips mounted in aluminum channels underneath kitchen and bathroom cabinets illuminate countertops without glare. Toe-kick lighting at floor level adds a floating effect to cabinetry and provides safe nighttime navigation. Both applications benefit from 24V systems over 12V, because 24V allows longer runs before voltage drop causes visible dimming at the far end.
Stair Lighting
Recessed LED strips in each stair riser or under the nosing create dramatic visual depth and improve safety. Motion-triggered systems activate as someone approaches and gradually dim after they have passed. This is especially popular in high-end residential remodels in Studio City, Sherman Oaks, and Encino.
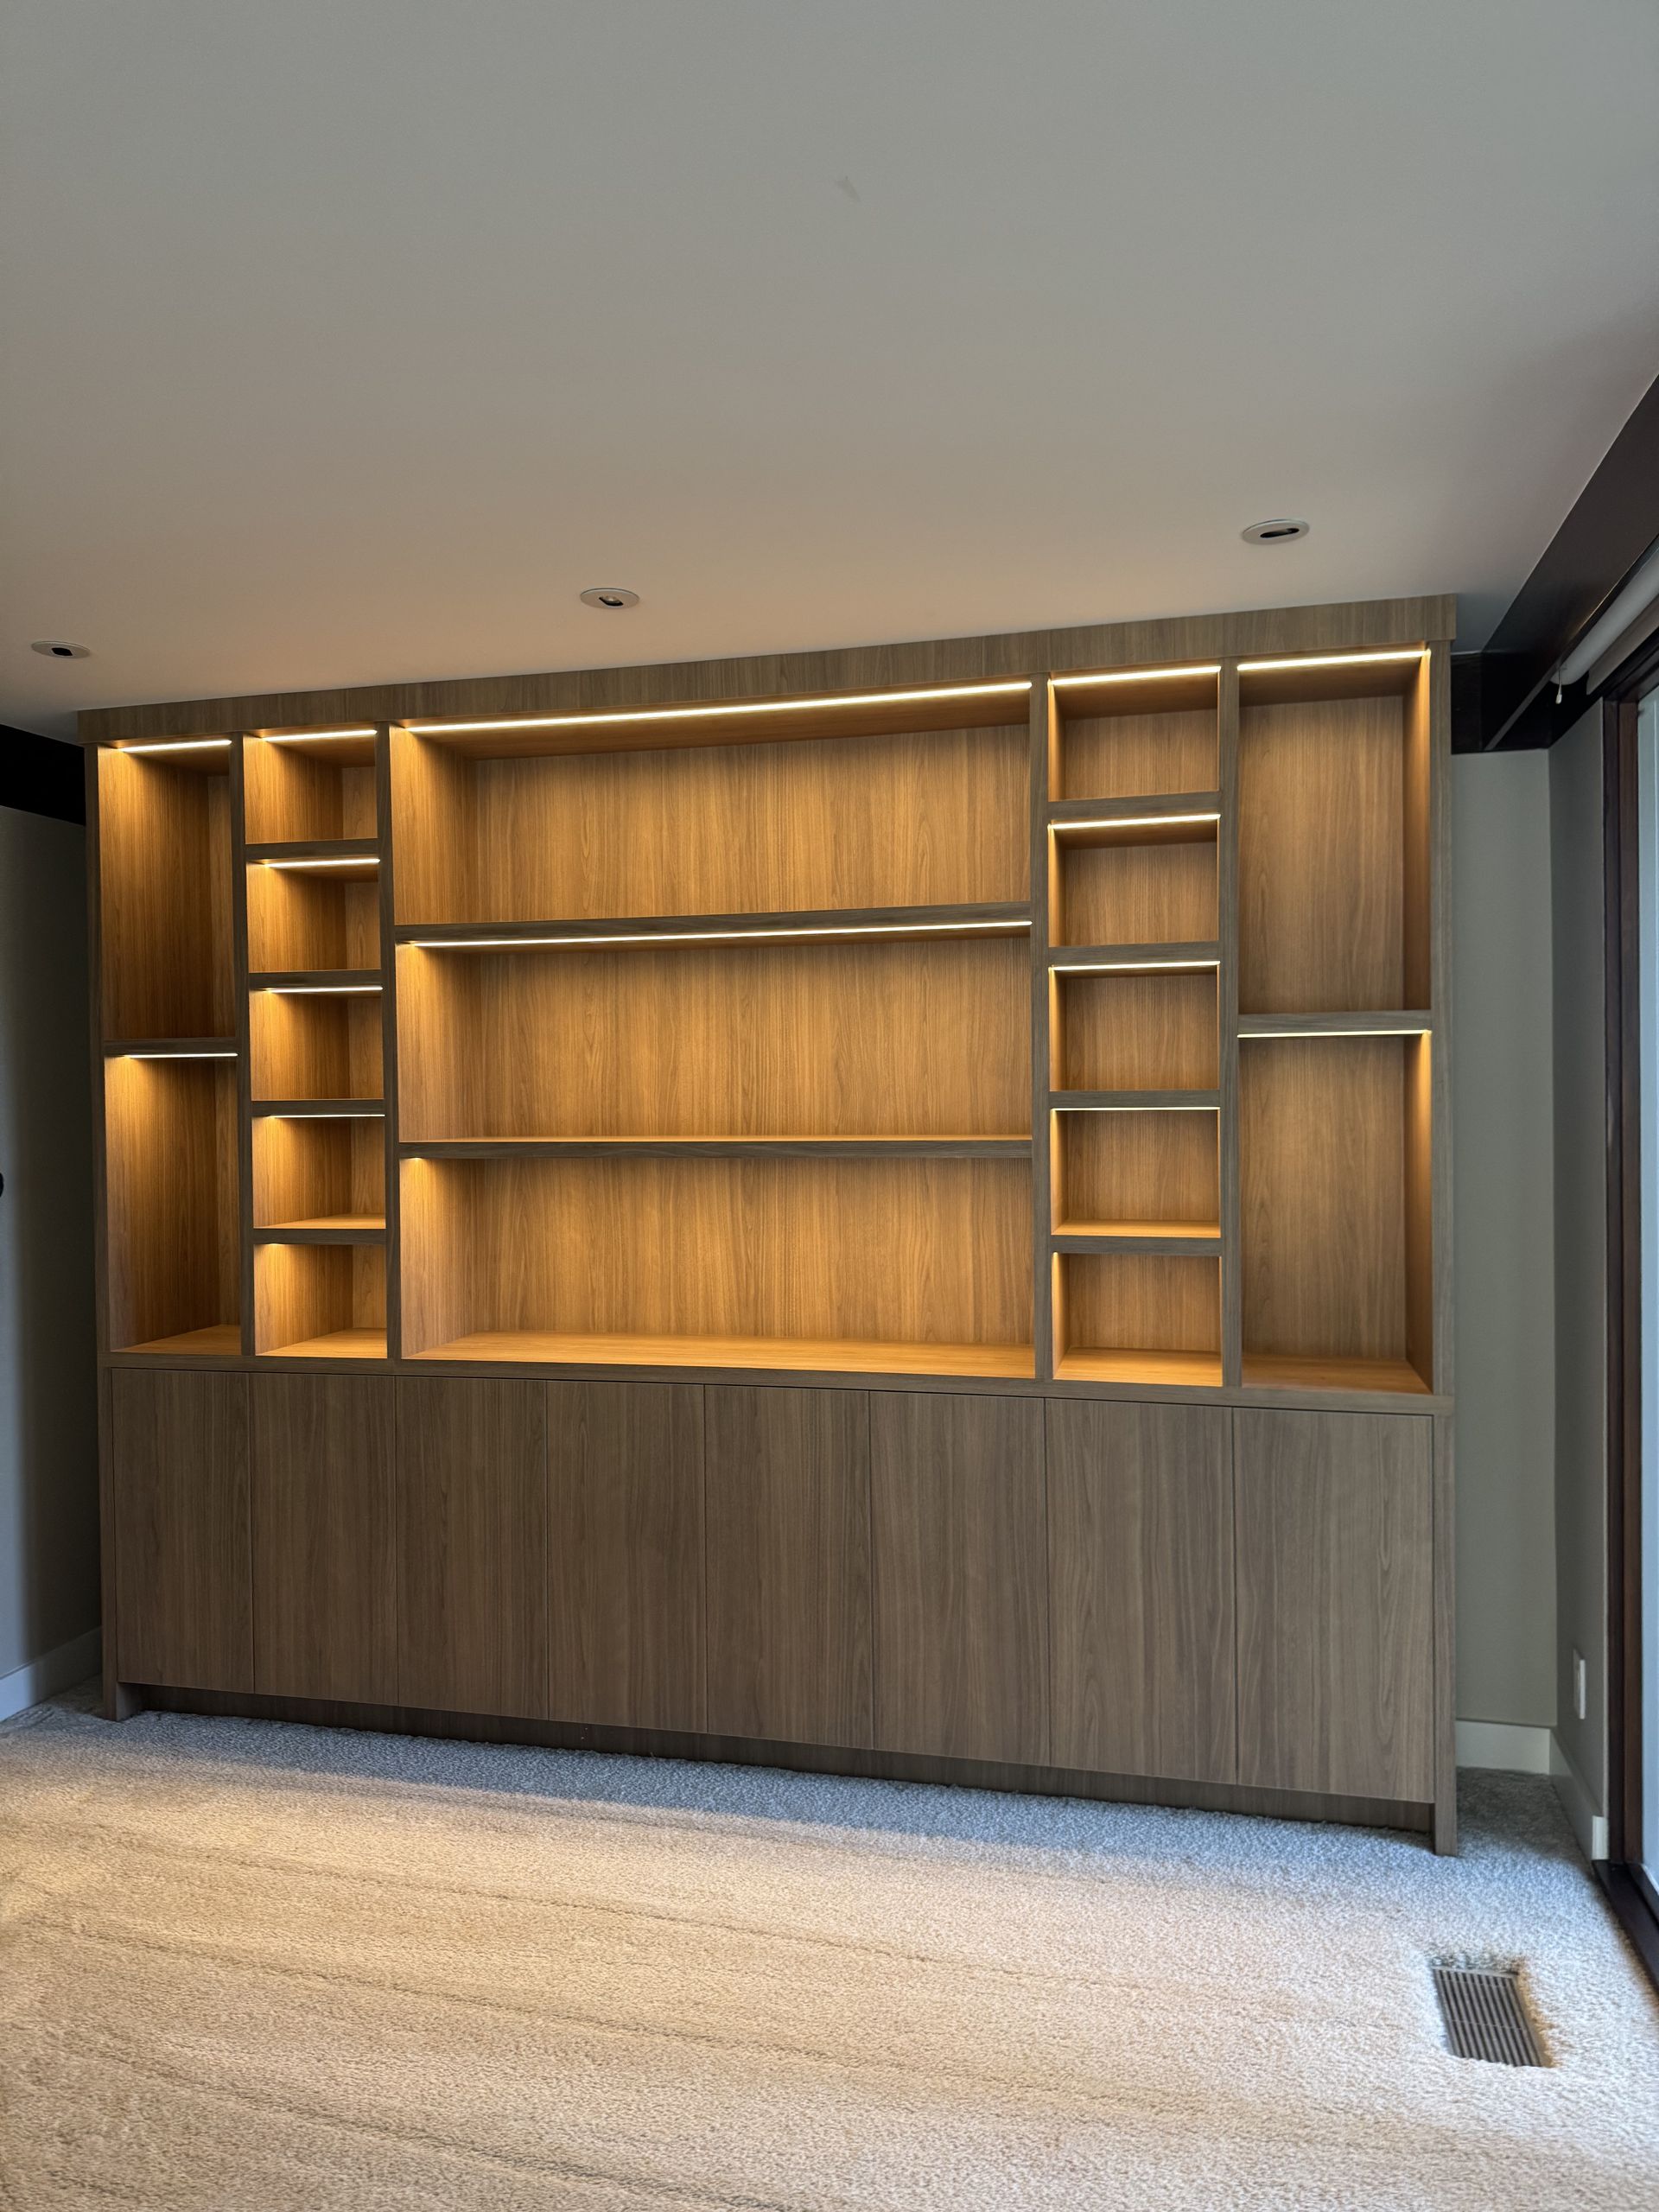
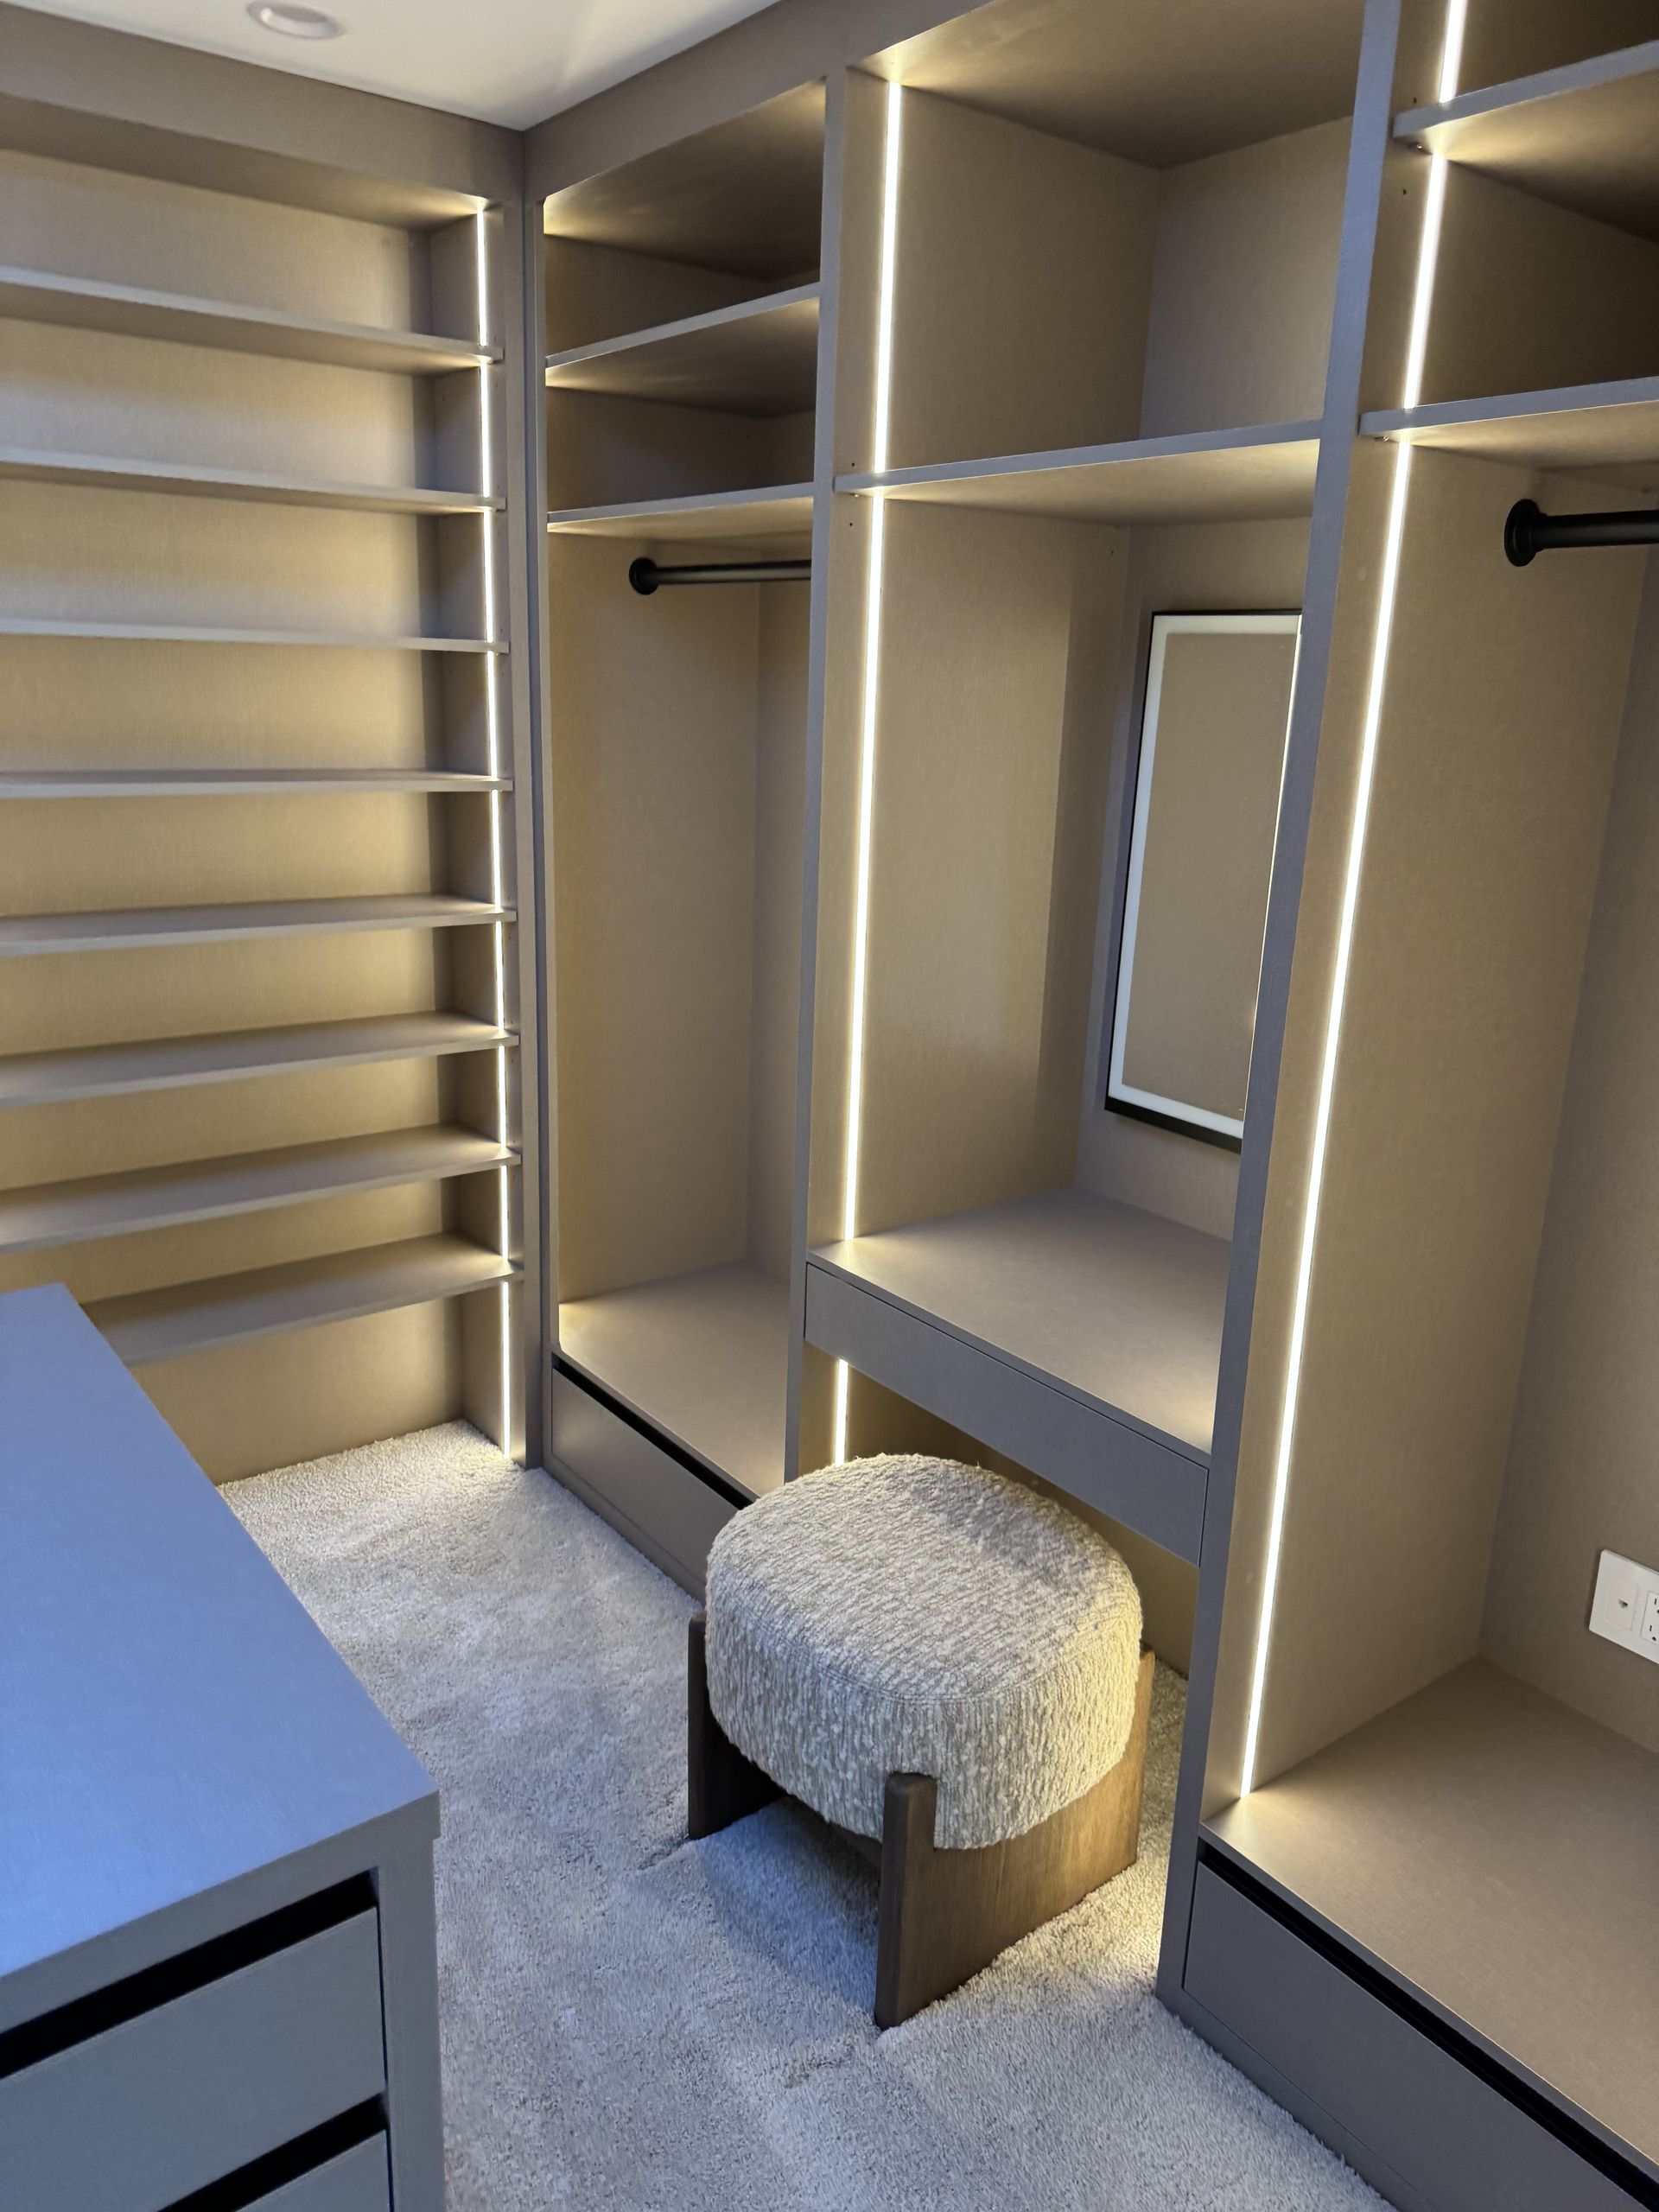
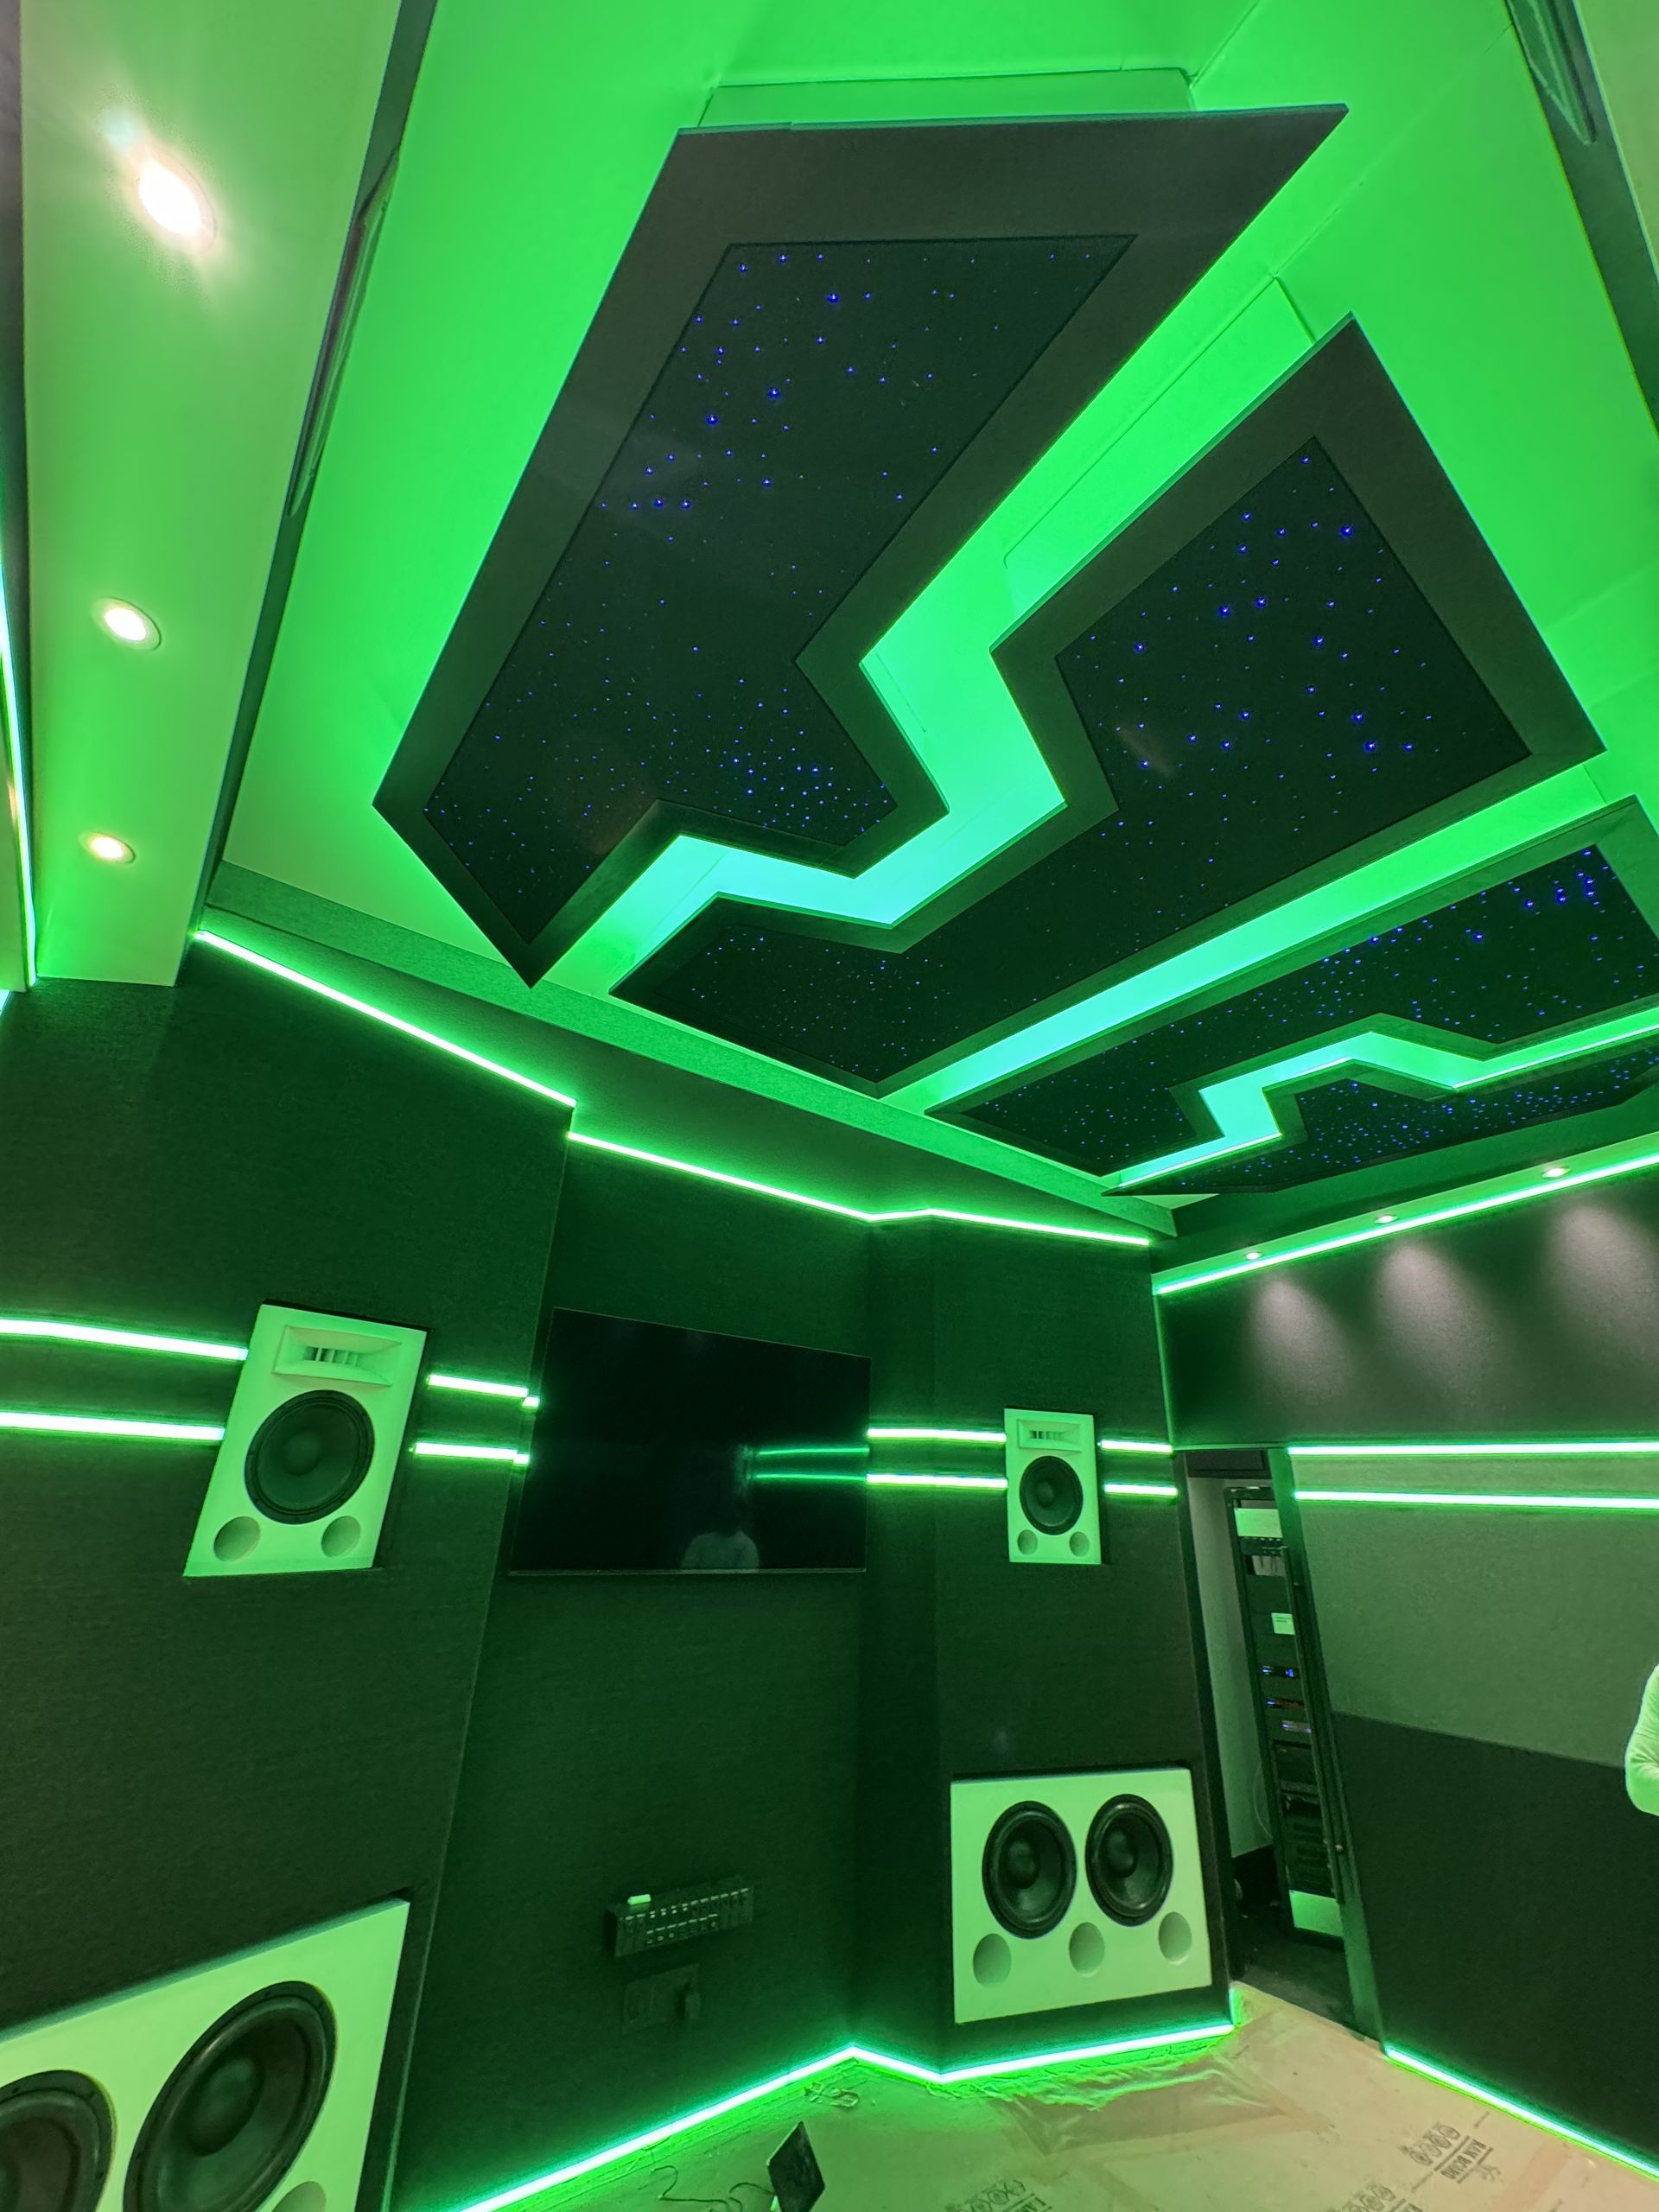
Architectural and Millwork Accents
Floating shelves, built-in bookshelves, coffered ceilings, and decorative beams all become dramatically more dynamic with LED tape integrated into the millwork. COB strips (dotless technology) are preferred here because they eliminate the visible scalloping that lower-density tape creates on nearby surfaces.
Outdoor and Landscape Applications
IP67-rated strips outline pool edges, illuminate deck steps, run inside pergola beams, and accent garden walls. Outdoor low-voltage systems require weatherproof drivers and proper burial-rated conduit for any underground wiring — work that must be done by a licensed electrician to pass inspection and maintain homeowner's insurance coverage.
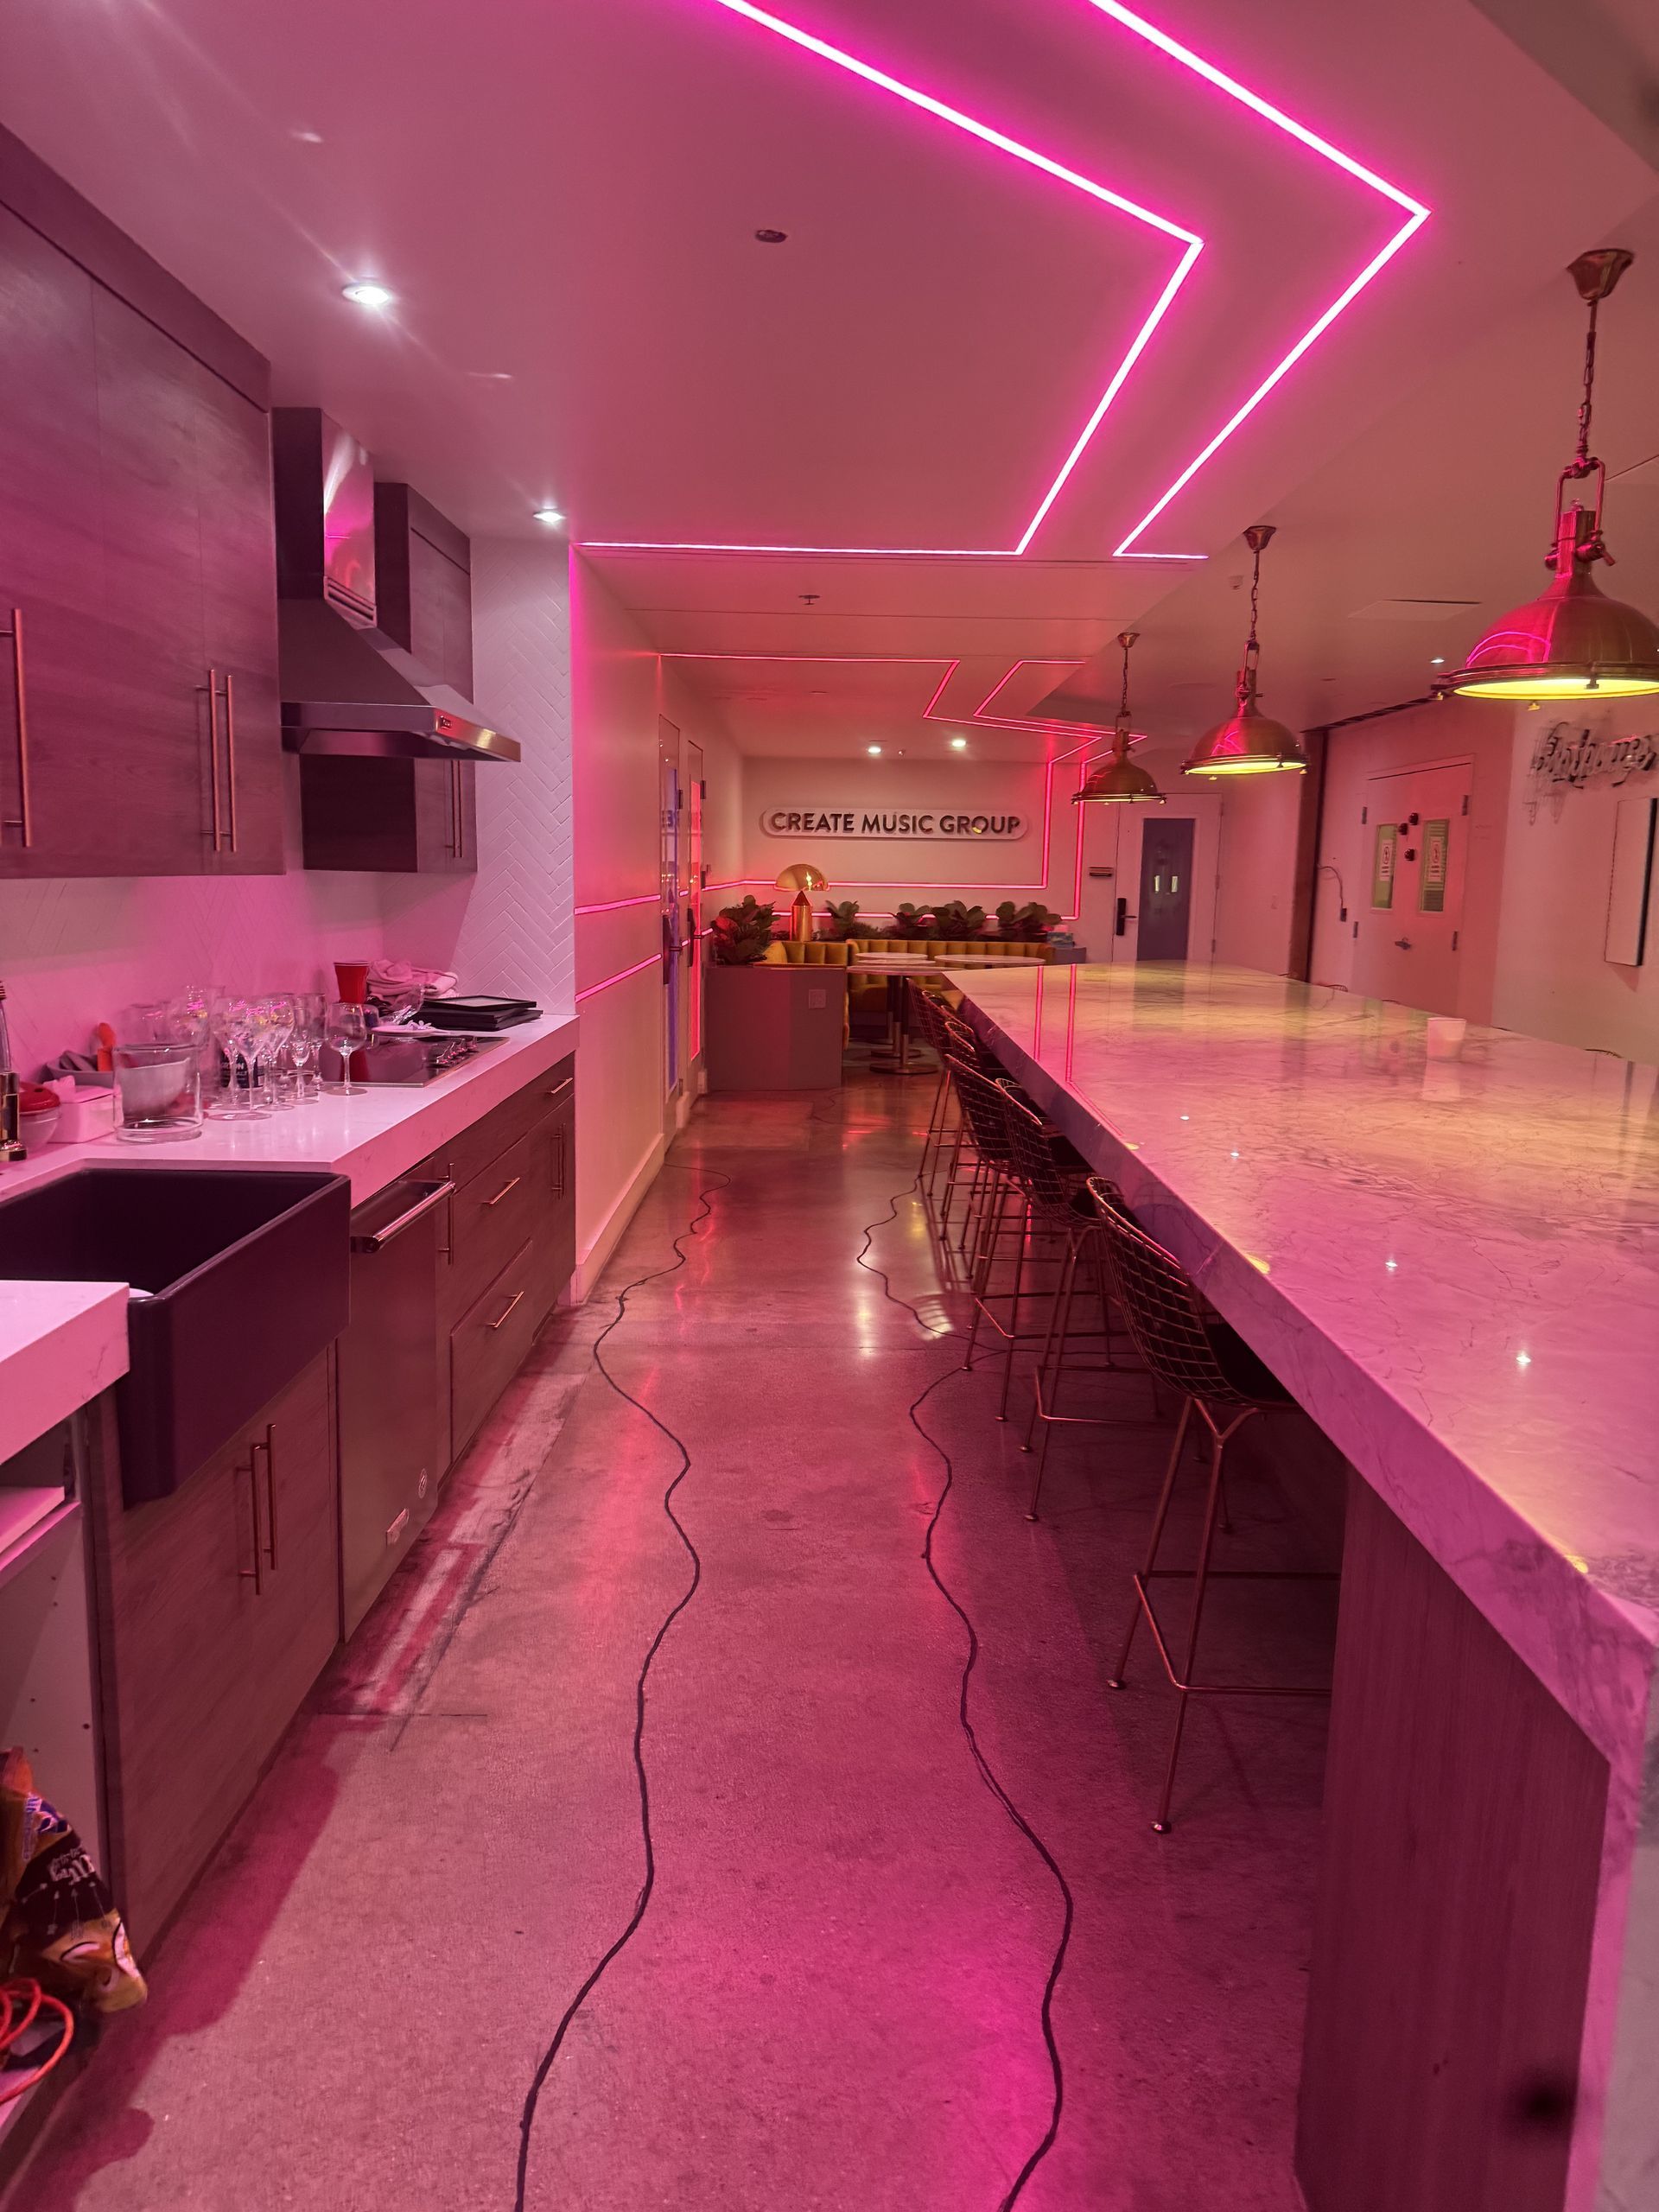
Commercial Retrofits
Offices, retail stores, restaurants, and warehouses have moved away from fluorescent troffers toward surface-mounted LED strips in exposed grid channels. A well-designed LED strip layout in a restaurant can create multiple lighting zones — bright over the bar, warm and dim over tables, full output in the kitchen — all from a single dimmer system.
How to Cut, Solder, and Install LED Strip Lights
The steps below reflect how LED Guys approaches a professional strip light installation. Homeowners comfortable with basic DIY can handle simple single-run, plug-in applications. Any work involving hardwired power, new circuits, or permits should be handled by a licensed electrician.
Safety first: Never work on or near live electrical wiring. If your strip installation requires a new circuit, a dedicated outlet, or connection to your home's wiring, call a licensed electrician. In California, unpermitted electrical work can void your homeowner's insurance and create liability on resale.
Step 1: Plan and Measure
Measure every run accurately. Add 5–10% for waste at cut marks. Determine total wattage (watts per foot × total feet) and select a driver rated for at least 120% of that load — never run a driver at 100% capacity. Plan driver placement where it will have adequate ventilation and be accessible for service.
Step 2: Choose the Right Driver
The driver (also called a power supply) converts 120V AC from your outlet to 12V or 24V DC for the strip. Undersizing the driver is the single most common cause of LED strip failure. For runs longer than 16 feet on a 12V system, switch to 24V or add a second driver mid-run to avoid voltage drop. Look for UL-listed drivers with a power factor above 0.90 and built-in overcurrent protection.
Step 3: Cut the Strip at the Correct Mark
Every strip has cut marks indicated by a scissor icon, a line, or copper pads — typically every 2, 3, or 4 inches depending on chip density. Cut only at these marks using sharp scissors or a craft knife against a straightedge. Cutting between marks destroys the circuit and renders that section non-functional. Always dry-fit and verify length before cutting.
Step 4: Prep the Surface
Clean the mounting surface with isopropyl alcohol (90% or higher) and allow it to dry completely before removing the adhesive backing. Temperature matters: the adhesive bonds poorly below 50°F and to surfaces that are dusty, painted with flat latex, or textured. For painted drywall or plaster, use aluminum extrusion channels with mounting clips rather than relying on the tape adhesive alone.
Step 5: Mount in Aluminum Channel (Recommended)
Aluminum LED channels serve three purposes: they diffuse the light for a smooth, even appearance; they conduct heat away from the chips for longer lifespan; and they protect the strip from mechanical damage. Channels are available in surface-mount, recessed, corner, and round-ceiling profiles. Press the strip into the channel's adhesive tape, snap in the diffuser cover, and mount the channel with the provided screws or clips.
Step 6: Make Connections
You have three options for connecting strip sections and drivers: solderless push-in connectors (fast, reliable for stationary installs), wire leads with screw terminals, or soldered joints. Soldering provides the most reliable low-resistance connection and is preferred for permanent installations and high-current runs.
How to Solder LED Strips Properly
Soldering LED strips is straightforward with the right technique. Use a temperature-controlled iron set to 650–700°F (340–370°C) — too hot and you lift the copper pads; too cold and the solder flows poorly. Use rosin-core solder (60/40 or 63/37) and work quickly. Apply flux to the pad, tin both the pad and the wire tip, then bring them together for no more than 2–3 seconds. A good joint is shiny and smooth. A dull, grainy joint is a cold solder joint — reheat and reflow it. After soldering, cover connections with heat-shrink tubing or electrical tape to prevent shorts.
Step 7: Test Before Final Mounting
Connect the driver to power and verify every section lights up at full brightness before committing to final adhesion. Check for flickering (a sign of poor connection or underpowered driver), visible dimming at the far end of long runs (voltage drop), and consistent color across all sections.
Step 8: Final Mounting and Termination
Remove the adhesive backing and press the strip firmly into position, applying consistent pressure along the entire length. For hardwired installations, a licensed electrician connects the driver's AC input to the branch circuit inside a junction box, secures all wiring with appropriate connectors, and closes the box per NEC code. In Los Angeles, hardwired low-voltage lighting typically does not require a permit for replacement of existing fixtures but may require one for new circuit work.
Pro tip: On runs over 20 feet, use 24V strips instead of 12V and feed power from both ends of the run. This cuts the effective run length in half for voltage-drop purposes and keeps brightness consistent from end to end.

Common LED Strip Problems and How to Fix Them
Strip Flickers or Pulses
The most common cause is a loose or high-resistance connection — check every soldered joint and connector. The second cause is a failing or undersized driver. PWM flickering at low dim levels is normal for cheaper dimmers; upgrade to a quality 0-10V or phase-cut dimmer designed for LED loads.
End of Run Is Dimmer Than the Start
This is voltage drop. The resistance of the strip's copper traces causes voltage to fall over distance. Solutions: switch to 24V strips, shorten runs, use heavier-gauge wire, or inject power at both ends of the run.
Sections Are Different Colors
Color shift between reels is a quality-control issue. Purchase strips from suppliers who guarantee batch consistency and specify MacAdam ellipse tolerance (SDCM 3 or tighter). On existing installs, replace the affected reel with one from the same production batch.
Adhesive Is Failing
The strip is peeling away from the surface. This is nearly always a surface-prep failure. Remove the strip, clean thoroughly with isopropyl alcohol, and re-mount using aluminum channel with clips for a permanent mechanical hold. For ceiling and downward-facing installs, always use channel — the tape adhesive alone is not designed for overhead applications.
Strip Is Hot to the Touch
LED strips should be warm but not painful to the touch. Excessive heat usually means insufficient ventilation in an enclosed channel, a chip density too high for the channel profile chosen, or a failing driver operating over capacity. Aluminum channel conducts heat effectively only when it has a clear thermal path — avoid burying it in foam insulation or enclosing it completely without airflow.
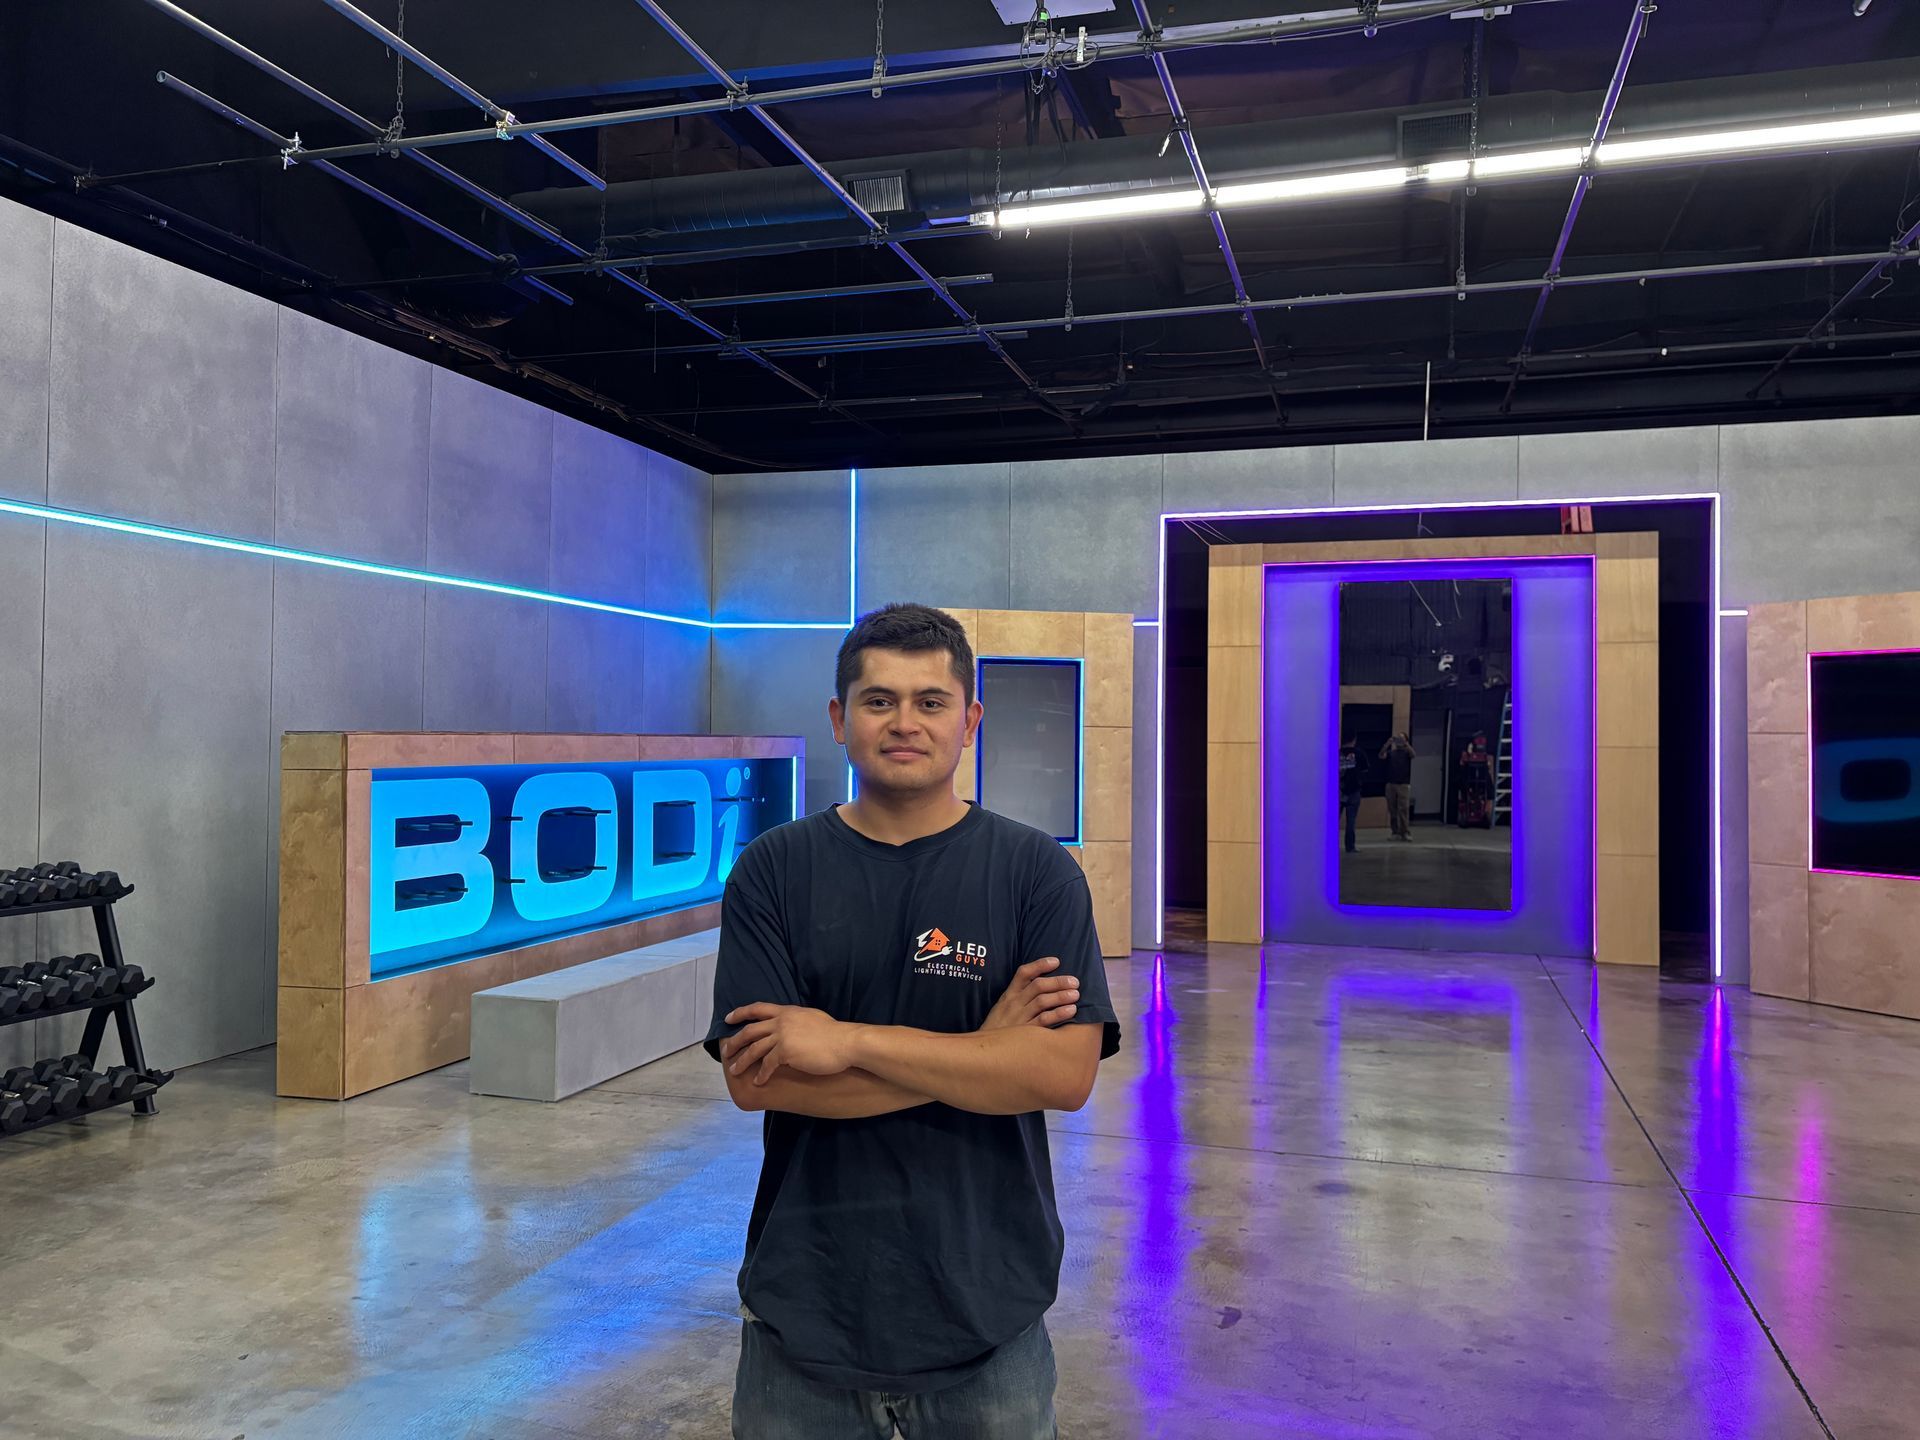
Need professional LED strip installation in Los Angeles? LED Guys is a licensed C10 electrician (License #1137497) based in Van Nuys. We design and install LED strip lighting for residential and commercial clients across the San Fernando Valley and all of greater Los Angeles. Call Jorge directly at (818) 588-7819 for a free estimate — same-day appointments usually available.